Zapier
Zapier connects Timesheet to thousands of other apps, so something new in Timesheet can trigger an action somewhere else (and the other way around) without any code. For example, a new time entry can add a row to Google Sheets, or a won deal in your CRM can create a Timesheet project.
The Zapier integration requires a Pro plan or above. See the Plans page for the full comparison. A Zapier account is also needed; Zapier offers a free tier.
How it works
A Zap is an automated workflow with two parts:
- A trigger: an event that starts the Zap, such as a new time entry in Timesheet.
- An action: what happens in response, such as adding a row to Google Sheets.
You can add filters so an action only runs when a condition is met, and chain several actions together.
Before you start
- A Timesheet Pro plan.
- A Zapier account.
Connect Timesheet to Zapier
Open the Timesheet app on Zapier. You can also reach it from the Integrations page in the web app, on the Timesheet Zapier card.
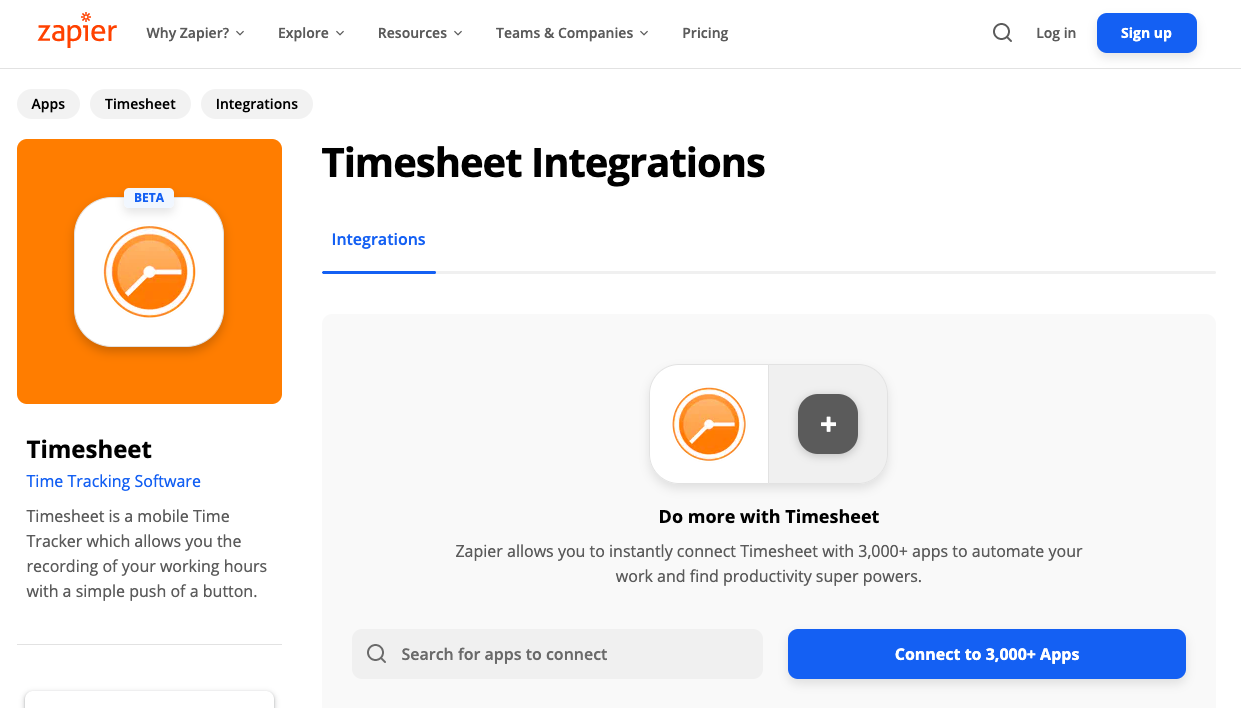
- In Zapier, create a Zap and choose Timesheet as the trigger or action app.
- When Zapier asks, sign in to your Timesheet account and allow access.
- Zapier confirms the connection, and you can reuse it in any future Zap.
What you can use
In Zapier, time entries are called tasks, as in the Timesheet API.
- Triggers: New Task, New Project, New Tag, New Rate, and New Team. Each fires when something new is created; changes to existing items do not start a Zap.
- Actions: Create Task, Create Project, Create Tag, Create Rate, Create Team, and Send Report. Create Task needs a project and a start and end time.
- Searches: Find Task, Find Project, Find Tag, Find Rate, and Find Team, each also as Find or Create, which reuses an existing record instead of creating a duplicate.
The Timesheet app page on Zapier always shows the current list.
To react to updates or timer events, use Timesheet's own webhooks under Integrations > Webhooks (see Integrations) and point them at Webhooks by Zapier, which needs a paid Zapier plan.
Build a Zap
The steps are the same for any workflow:
- Choose a trigger. Pick the Timesheet trigger (or the event in the other app) that starts the Zap.
- Choose an action. Pick what should happen in response.
- Map the fields. Tell Zapier which Timesheet values fill each field in the action, such as project, start and end time, or description.
- Test it. Zapier runs the Zap once with sample data so you can check the result.
- Turn it on. Publish the Zap, then create a real entry in Timesheet to confirm it works.
For ready-made templates, see the Timesheet app page on Zapier.
Tips
- Start with one simple Zap and test it before building more complex ones.
- Give each Zap a clear name, so you can tell at a glance what it does.
- Use a filter to keep a Zap focused, for example to run only for billable entries.
Troubleshooting
The Zap does not run. Check that the Zap is turned on, that something new was created (edits do not trigger a Zap), and that no filter is blocking it.
Authentication fails. Reconnect Timesheet in Zapier and sign in to your Timesheet account again. Your Timesheet plan must still be Pro or above.
Fields are empty in the action. Open the Zap and confirm each action field is mapped to a Timesheet value.
For Zap-specific help, see the Zapier help center. For account questions, contact support@timesheet.io.
See also
- Integrations: API keys, webhooks, and the Integration Marketplace.
- MCP server: control Timesheet from AI assistants.
- Plans: compare what each plan includes.