Teams
Teams let you collaborate with others by organizing users and projects together. You can create separate teams for different clients or departments and control who has access to which projects.
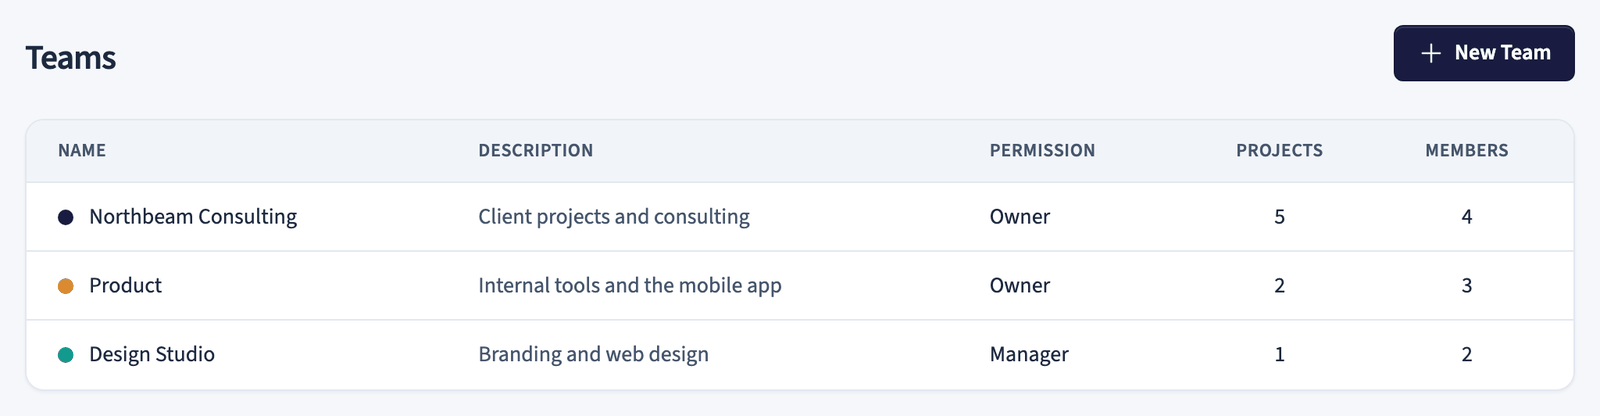
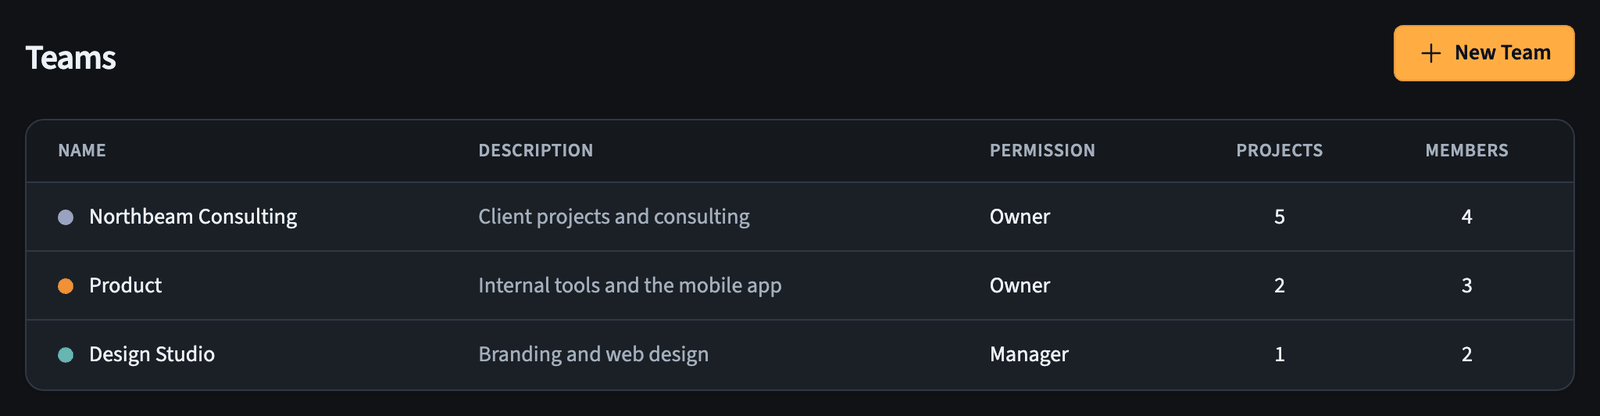
The teams list shows each team with its color, description, your permission level in that team, and the number of projects and members it contains.
Teams are available on the Pro plan and above. The web app includes a 30-day trial.
Activate teams
The first time you use teams, you activate them for your account.
- Go to Teams
- Enter a name in the Team-Name field
- Click Activate Teams
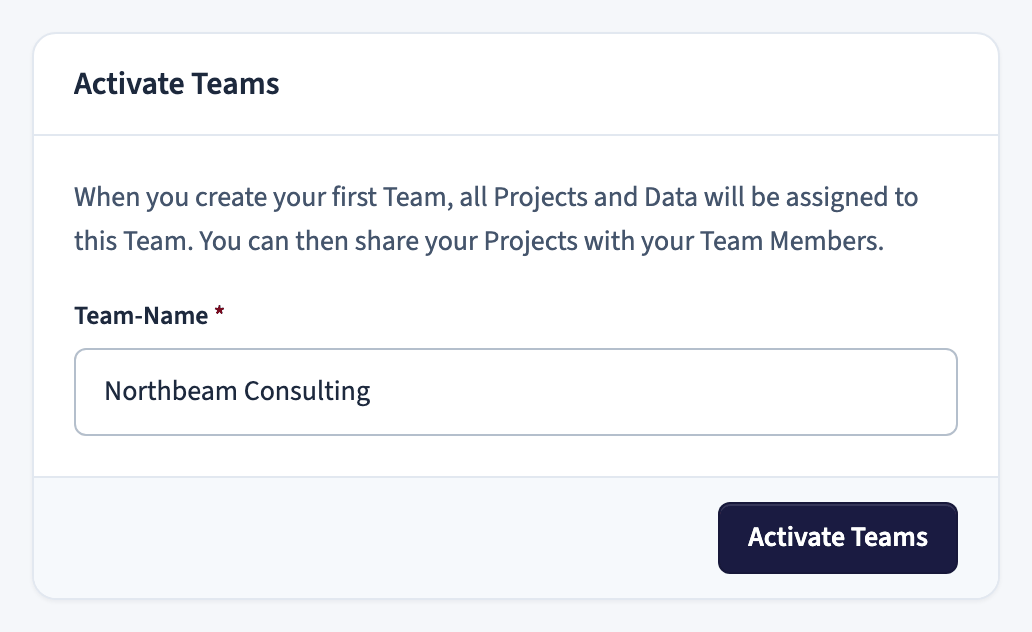
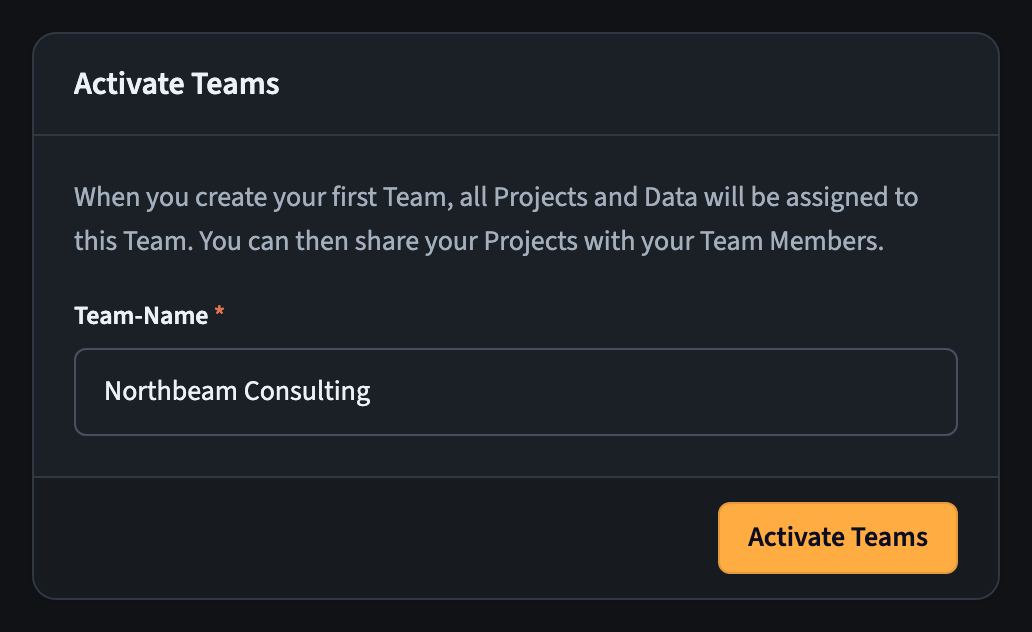
When you activate teams, all of your existing projects and data are assigned to this first team. You can then share those projects with the members you add.
Once a project is assigned to a team, it cannot be moved to a different team.
Create additional teams
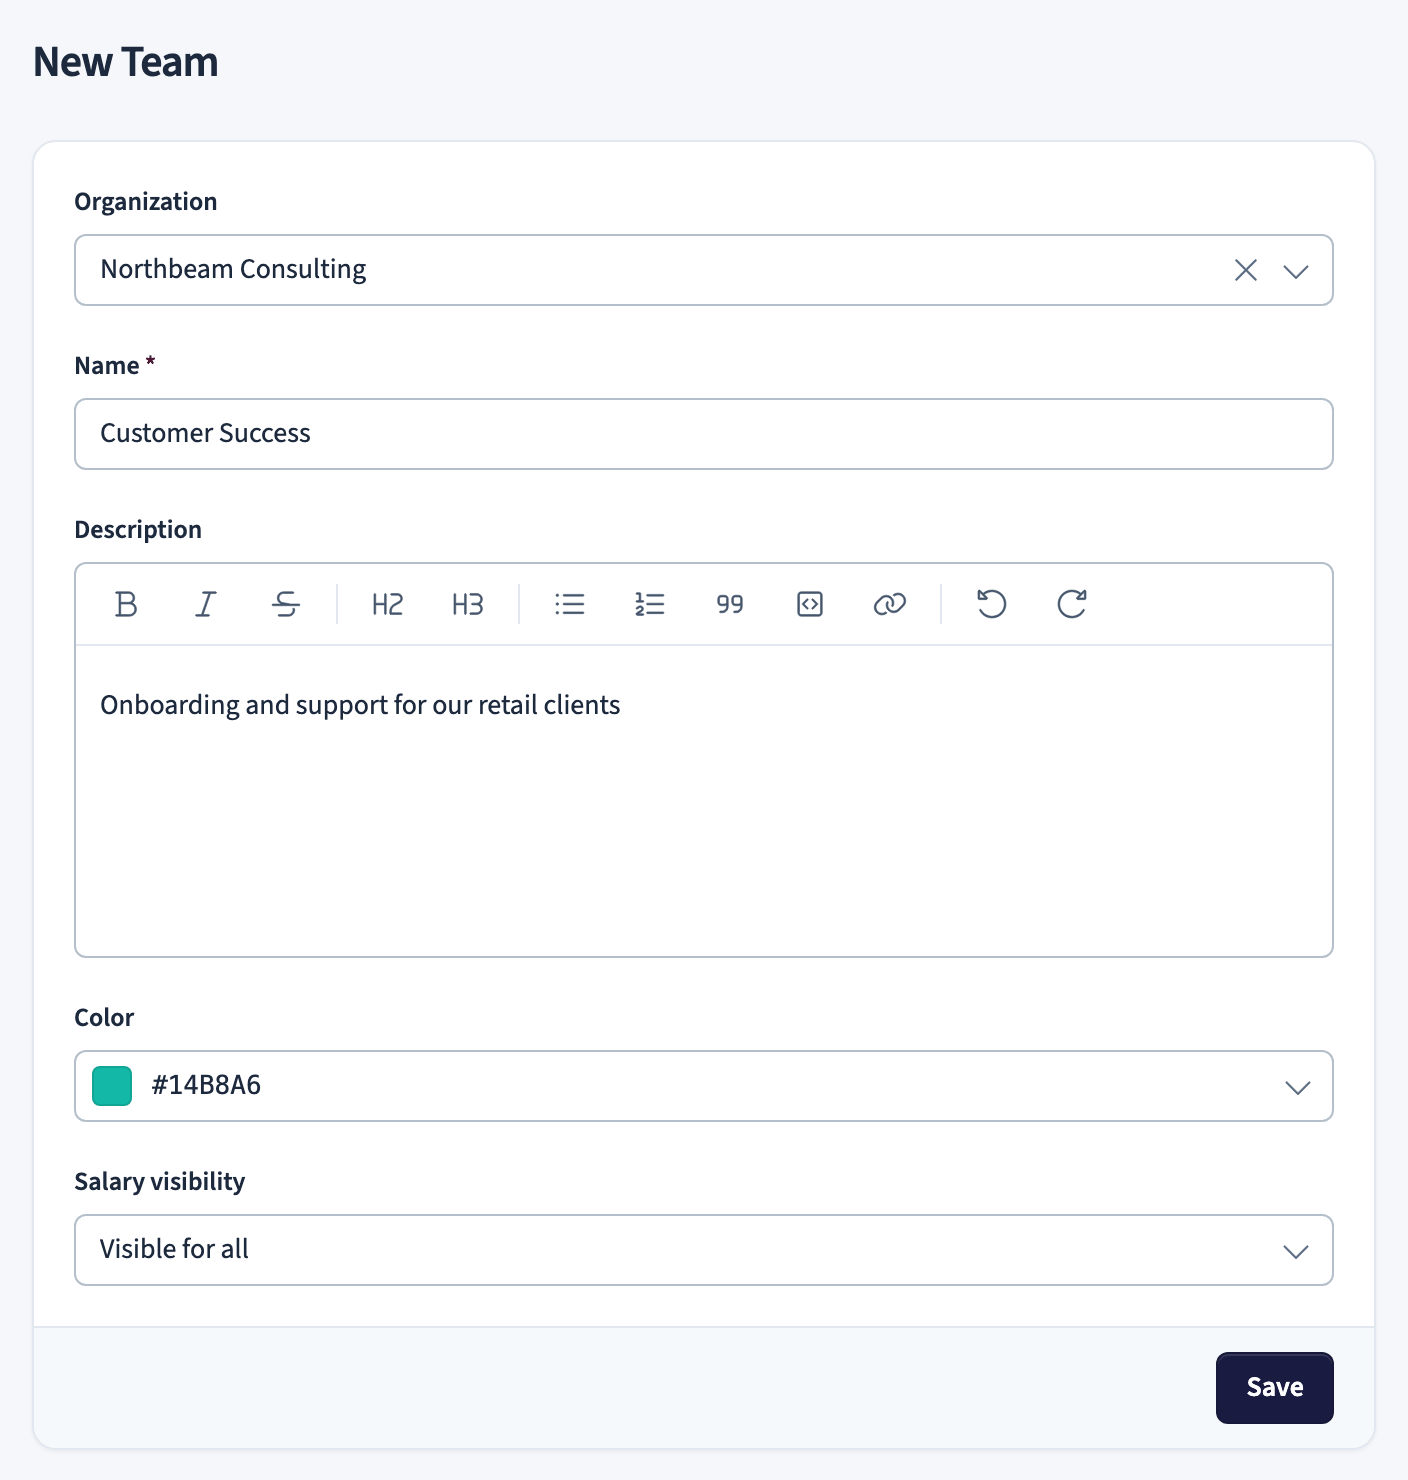
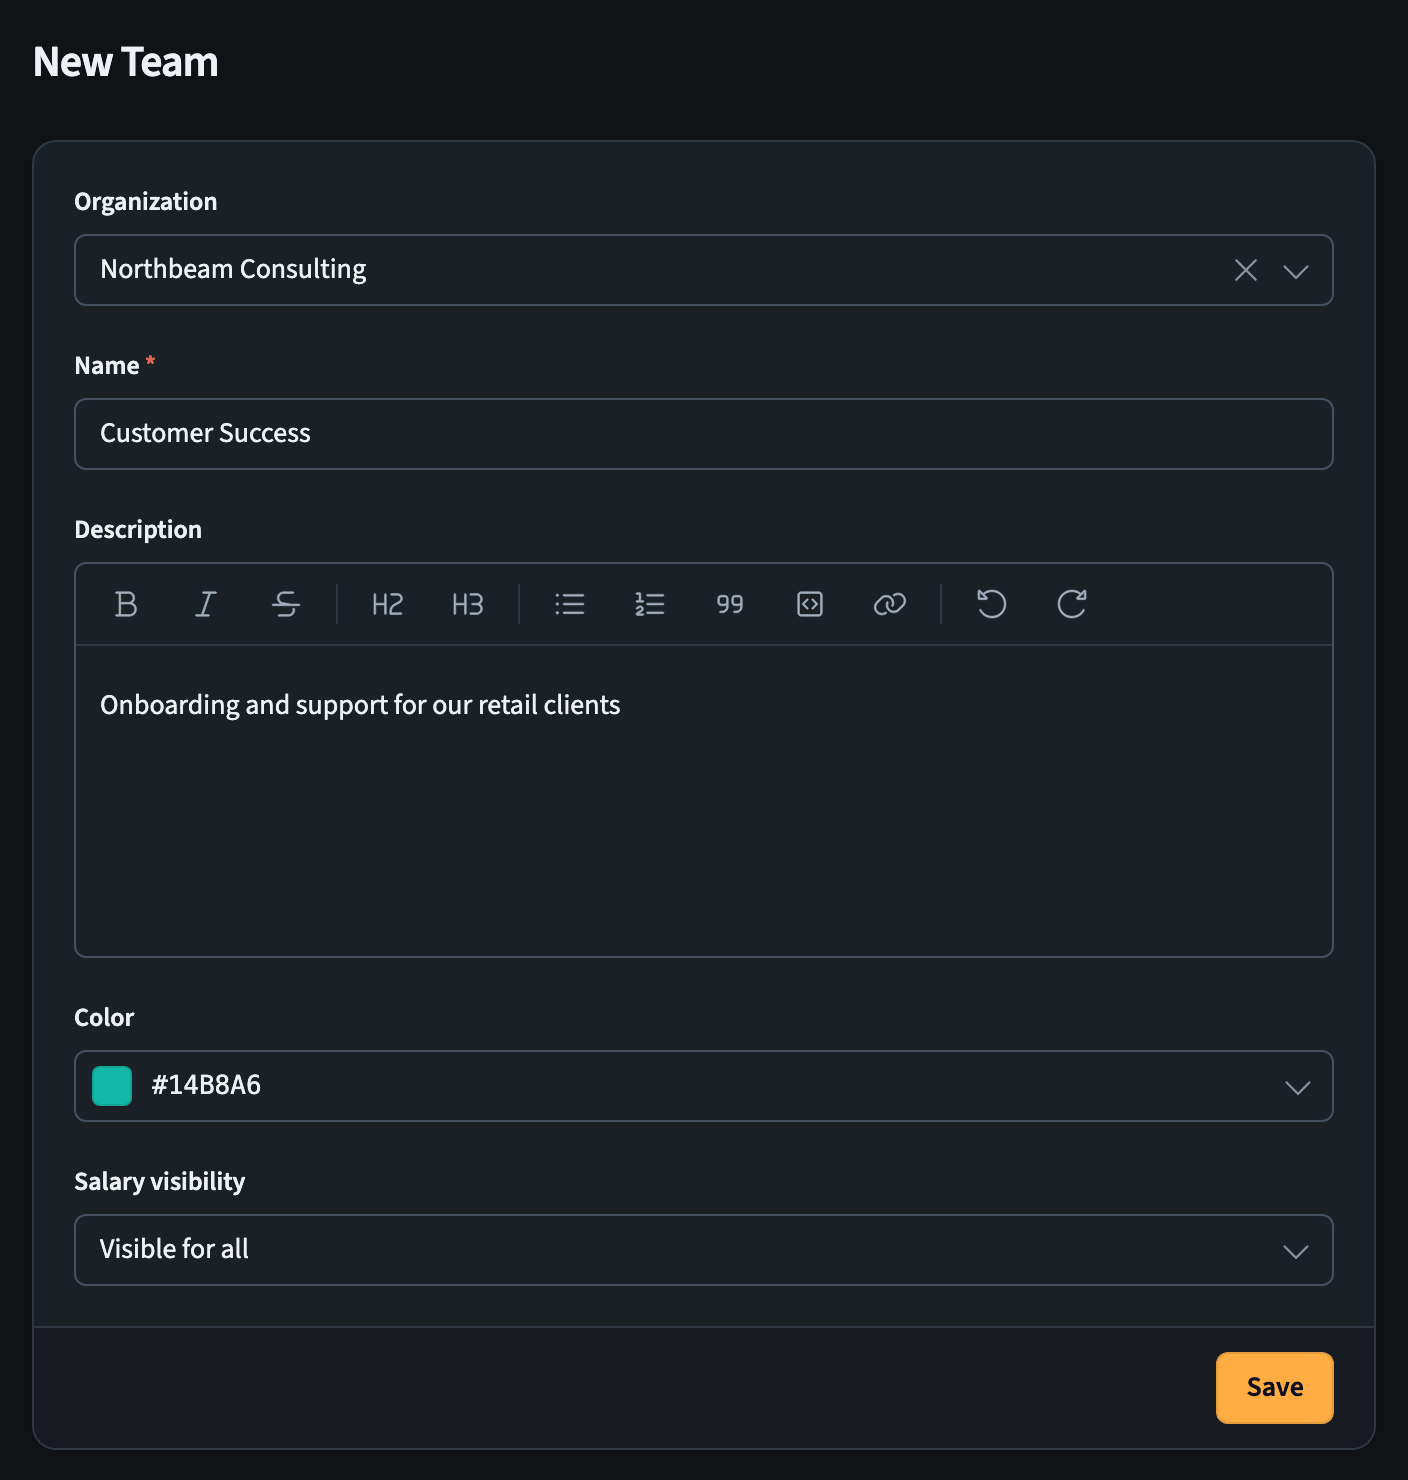
To create more teams, click + New Team in the top right corner of the teams list. Fill in the form:
- Organization: the organization the team belongs to (optional)
- Name: the team name
- Description: optional notes about the team
- Color: a color to identify the team in lists
- Salary visibility: who can see salary information for this team (for example, Visible for all)
Click Save to create the team.
View team members
Open a team from the list to see its details. The team view has tabs for Details, Members, Projects, Tags, and Rates.
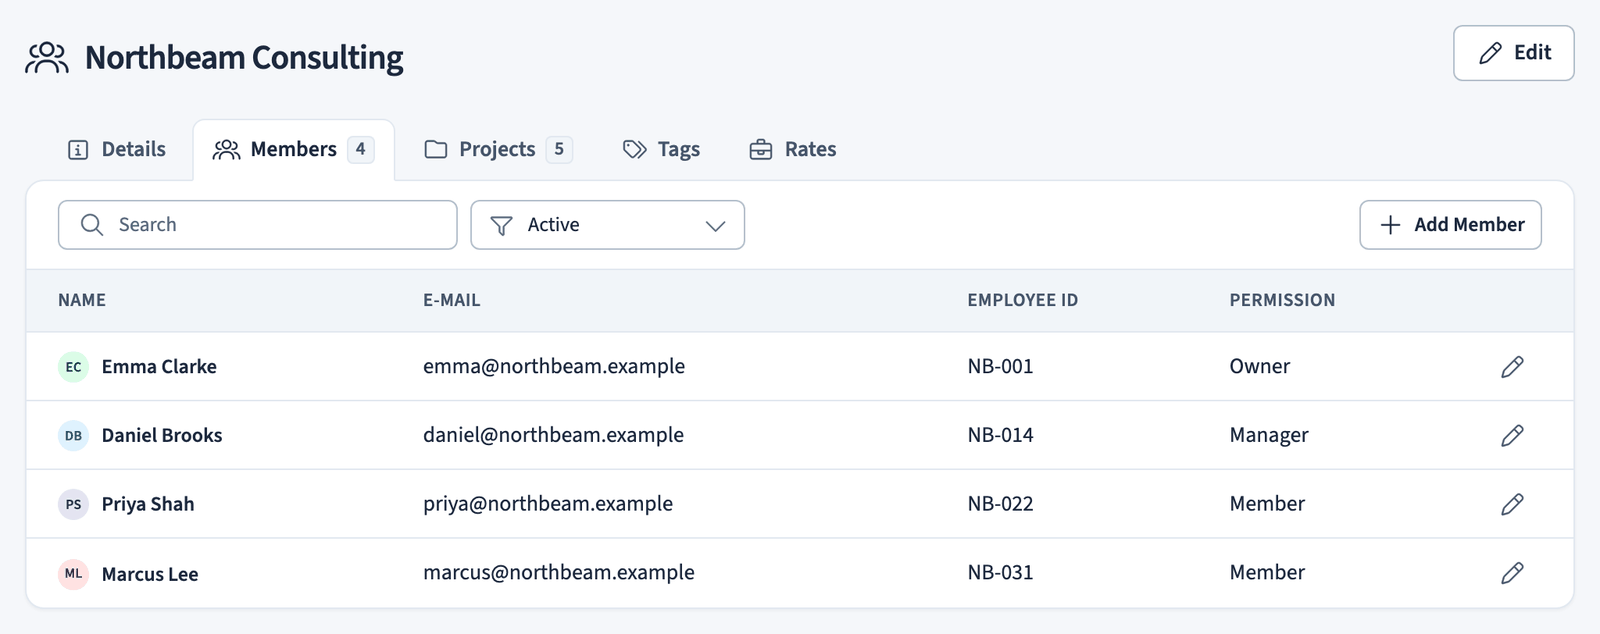
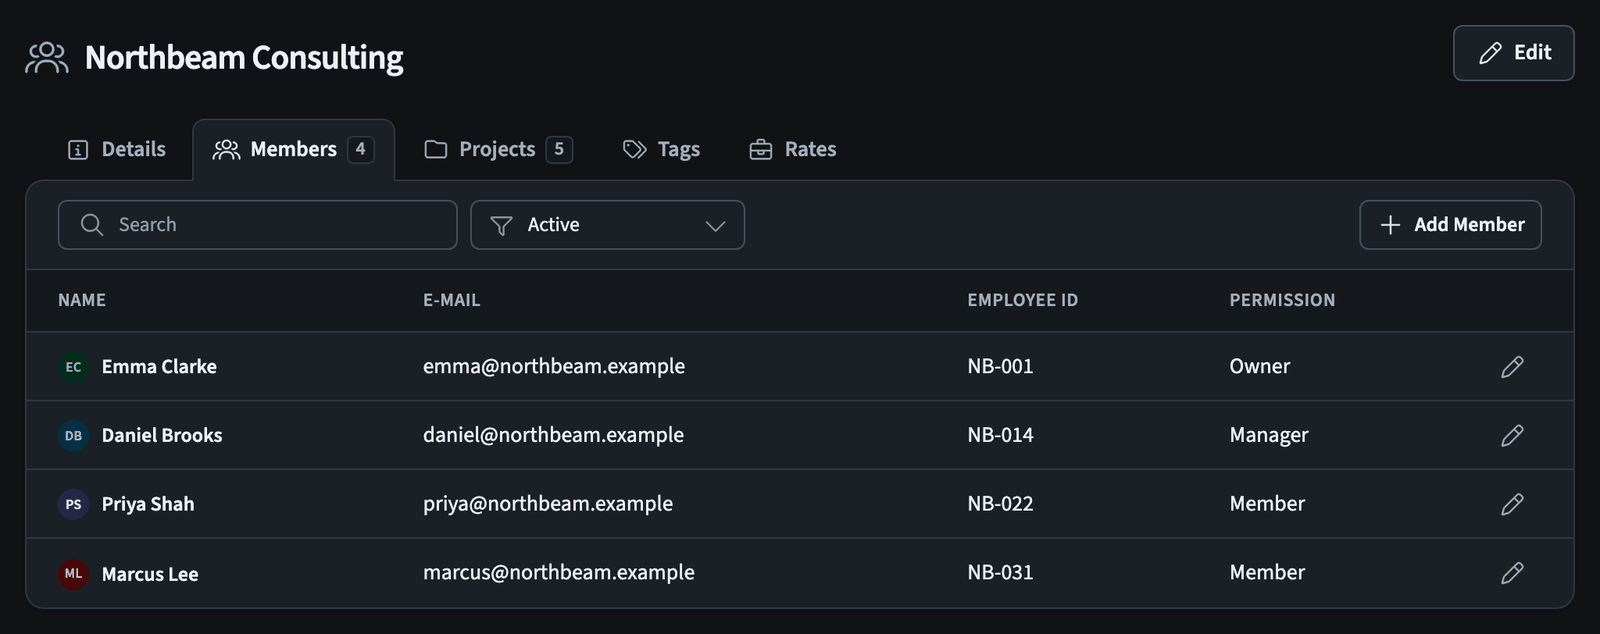
On the Members tab you can search for a member by name and filter the list by status (for example, Active). Each row shows the member's name, email, employee ID, and permission, with a pencil icon to edit their details.
Add a team member
- Open the team and go to the Members tab
- Click Add Member
- Fill in the member details:
- E-Mail (required)
- First Name (required)
- Last Name (required)
- Employee Id (optional)
- Permission level for the team
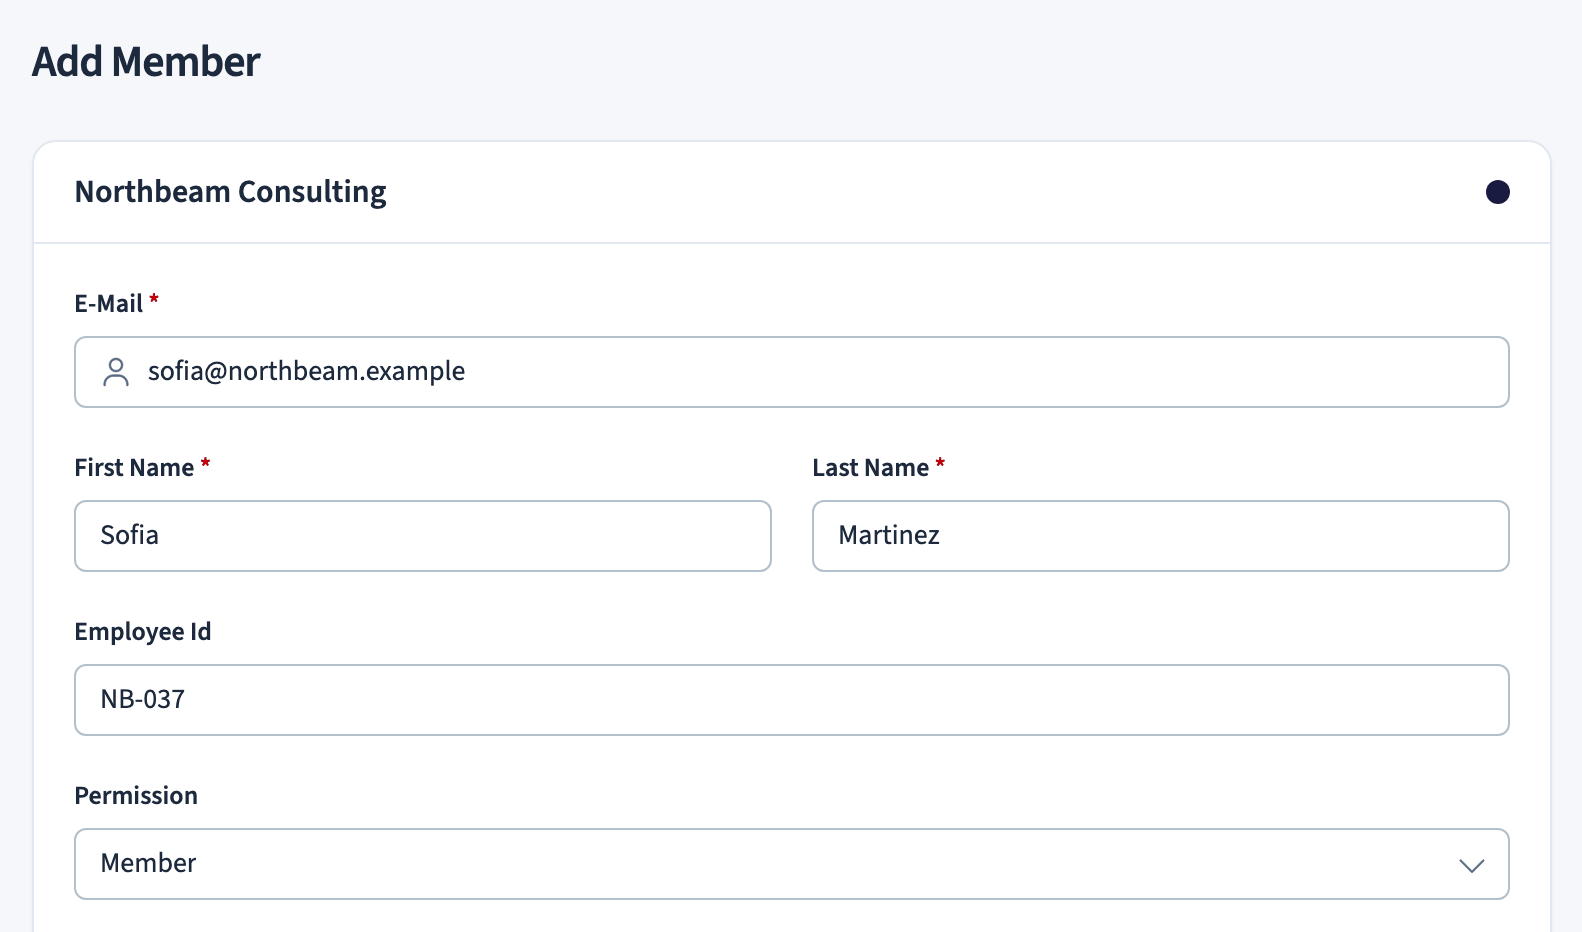
Share projects with the member
Below the member details you can choose which projects to share with this person. Select the checkbox next to each project, then set the Permission level for that project using the dropdown.
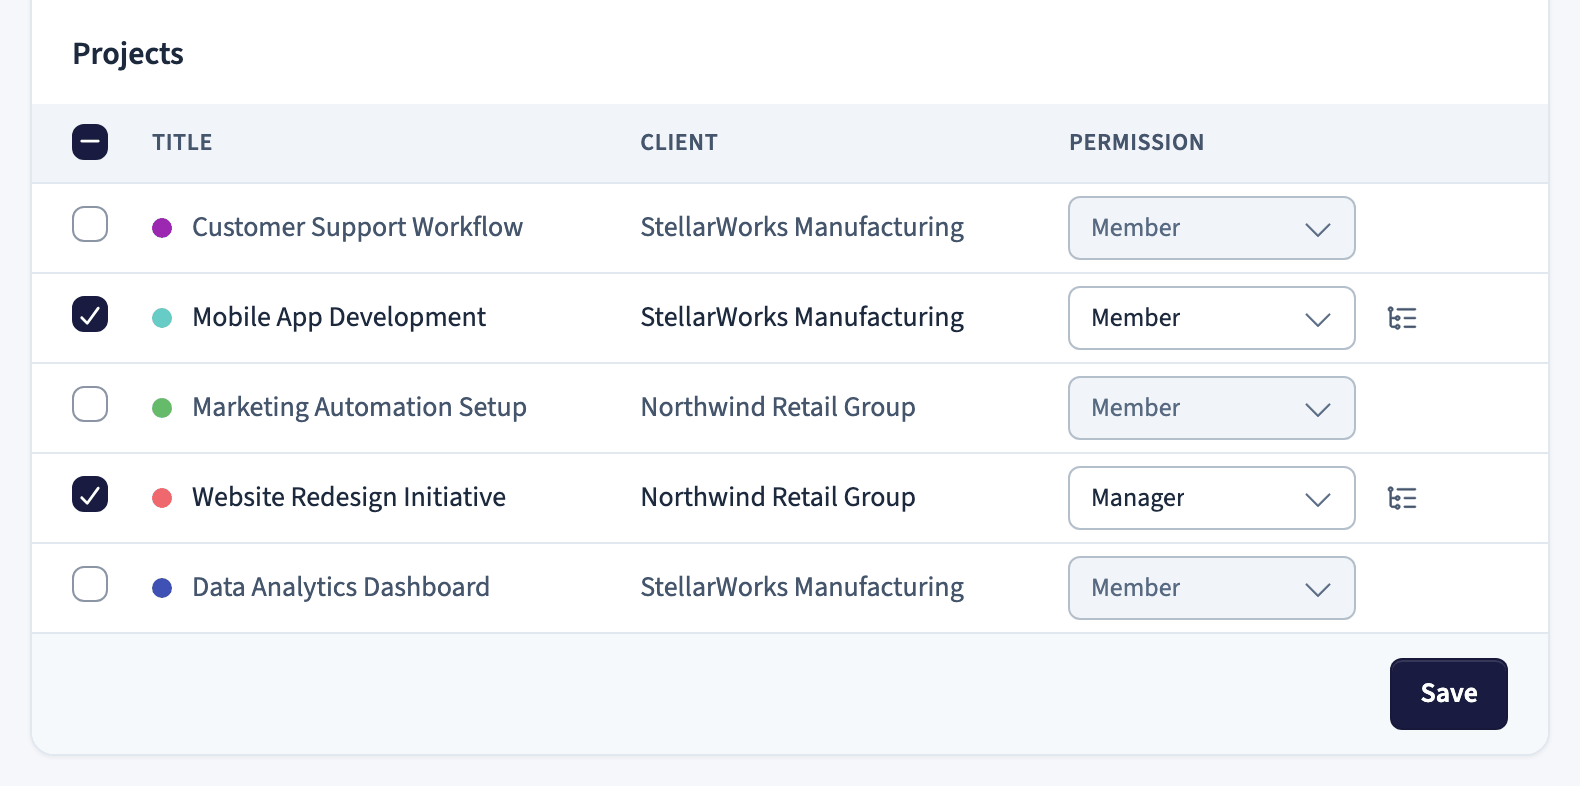
Each project shows its title, client, and permission. Click Save when you are done.
What happens after you add someone
- If the person already has an account, they get access immediately.
- If the person is new, they receive an email invitation to create an account.
Understanding permissions
Team permissions
When you add someone to a team, you choose their team role.
| Role | What they can do |
|---|---|
| Member | Track time on projects they are assigned to |
| Manager | Everything a Member can do, plus manage team members, create projects, and add tags and rates |
| Owner | Everything a Manager can do, plus delete the team |
Project permissions
For each project you share, you set a separate permission level.
| Role | What they can do |
|---|---|
| Member | Create and view their own tasks only |
| Manager | View and edit all tasks, and add other team members to the project |
| Owner | Everything a Manager can do, plus delete the project |