Zapier
Zapier verbindet Timesheet mit Tausenden anderer Apps, sodass ein Ereignis in Timesheet eine Aktion an anderer Stelle auslösen kann (und umgekehrt), ganz ohne Code. Zum Beispiel kann ein neuer Zeiteintrag ein Google Calendar-Ereignis erstellen, oder ein abgeschlossener Deal in Ihrem CRM kann ein Timesheet-Projekt erstellen.
Die Zapier-Integration erfordert einen Pro-Plan oder höher. Den vollständigen Vergleich finden Sie auf der Seite Pläne. Außerdem benötigen Sie ein Zapier-Konto; Zapier bietet einen kostenlosen Tarif.
So funktioniert es
Ein Zap ist ein automatisierter Arbeitsablauf mit zwei Teilen:
- Ein Trigger: ein Ereignis, das den Zap startet, etwa ein neuer Zeiteintrag in Timesheet.
- Eine Aktion: was daraufhin geschieht, etwa das Hinzufügen einer Zeile in Google Sheets.
Sie können Filter hinzufügen, damit eine Aktion nur ausgeführt wird, wenn eine Bedingung erfüllt ist, und mehrere Aktionen aneinanderreihen.
Bevor Sie beginnen
- Ein Timesheet Pro-Plan.
- Ein Zapier-Konto.
- Ein Timesheet API-Schlüssel. Erstellen Sie einen in der Web-App unter Integrationen > API-Schlüssel (siehe API-Schlüssel). Der Schlüssel wird nur einmal angezeigt, kopieren Sie ihn also, bevor Sie die Seite verlassen.
Timesheet mit Zapier verbinden
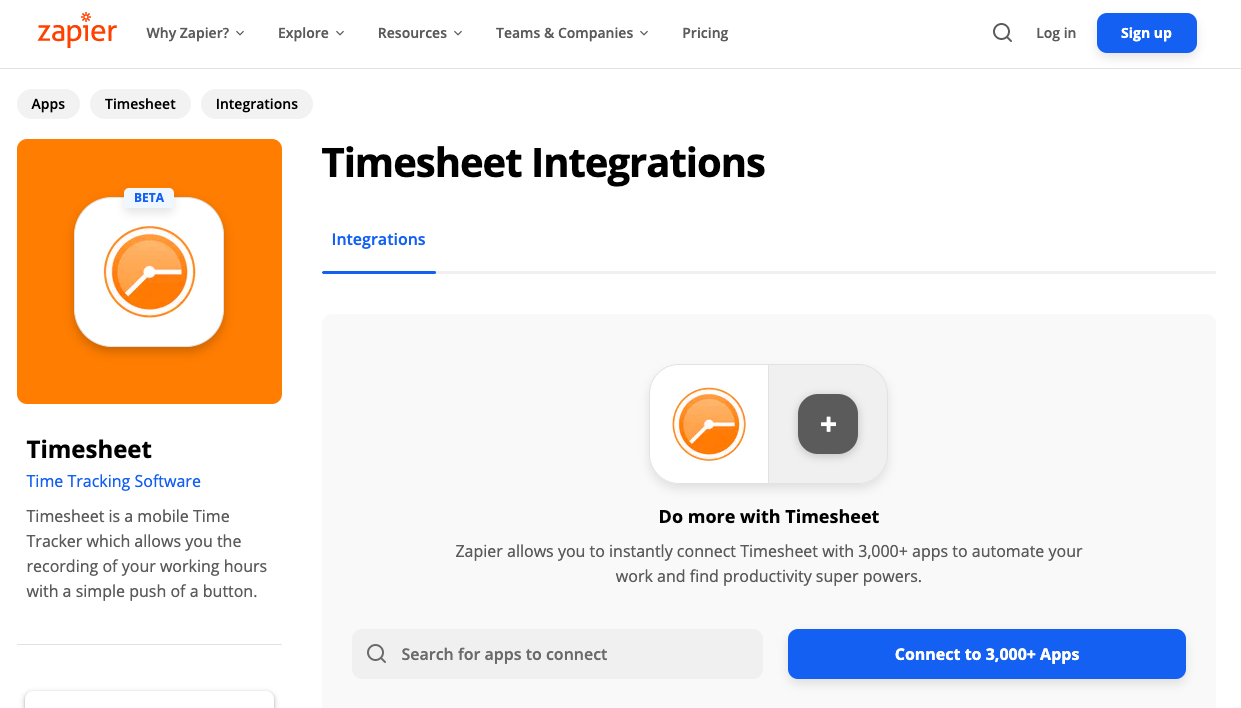
Öffnen Sie die Timesheet-App auf Zapier. Sie erreichen sie auch über die Seite Integrationen in der Web-App, auf der Timesheet-Zapier-Karte.
- Erstellen Sie in Zapier einen Zap und wählen Sie Timesheet als Trigger- oder Aktions-App.
- Wenn Zapier Sie zur Anmeldung bei Timesheet auffordert, fügen Sie Ihren API-Schlüssel ein.
- Zapier bestätigt die Verbindung, und Sie können sie in jedem künftigen Zap wiederverwenden.
Die Timesheet-App auf Zapier befindet sich in der Beta-Phase. Die verfügbaren Trigger und Aktionen können sich ändern. Die Zapier-App-Seite zeigt stets die aktuelle Liste.
Einen Zap erstellen
Die Schritte sind für jeden Arbeitsablauf gleich:
- Wählen Sie einen Trigger. Wählen Sie das Timesheet-Ereignis (oder das Ereignis in der anderen App), das den Zap startet.
- Wählen Sie eine Aktion. Wählen Sie, was daraufhin geschehen soll.
- Ordnen Sie die Felder zu. Legen Sie fest, welche Timesheet-Werte die einzelnen Felder in der Aktion füllen, etwa Projektname, Dauer oder Beschreibung.
- Testen Sie ihn. Zapier führt den Zap einmal mit Beispieldaten aus, damit Sie das Ergebnis prüfen können.
- Schalten Sie ihn ein. Veröffentlichen Sie den Zap und erstellen Sie dann einen echten Eintrag in Timesheet, um zu bestätigen, dass er funktioniert.
Die vollständige Liste der Timesheet-Trigger und -Aktionen sowie fertige Vorlagen finden Sie auf der Timesheet-App-Seite auf Zapier.
Tipps
- Beginnen Sie mit einem einfachen Zap und testen Sie ihn, bevor Sie komplexere erstellen.
- Geben Sie jedem Zap einen klaren Namen, damit Sie auf einen Blick erkennen, was er tut.
- Verwenden Sie einen Filter, um einen Zap gezielt zu halten, zum Beispiel damit er nur bei verrechenbaren Einträgen läuft.
Fehlerbehebung
Der Zap läuft nicht. Prüfen Sie, ob der Zap eingeschaltet ist, ob das Trigger-Ereignis tatsächlich eingetreten ist und ob kein Filter ihn blockiert.
Die Authentifizierung schlägt fehl. Ihr API-Schlüssel wurde möglicherweise gelöscht oder ist abgelaufen. Erstellen Sie einen neuen Schlüssel unter Integrationen > API-Schlüssel und verbinden Sie Timesheet in Zapier erneut.
Felder in der Aktion sind leer. Öffnen Sie den Zap und bestätigen Sie, dass jedes Aktionsfeld einem Timesheet-Wert zugeordnet ist.
Für Zap-spezifische Hilfe besuchen Sie das Zapier-Hilfecenter. Bei Fragen zu Ihrem Konto wenden Sie sich an support@timesheet.io.
Siehe auch
- Integrationen: API-Schlüssel, Webhooks und der Integrations-Marktplatz.
- MCP-Server: Timesheet aus KI-Assistenten steuern.
- Pläne: vergleichen, was jeder Plan enthält.