Project Management
Projects are the foundation of your time tracking - organize individual tasks, client work, and team collaboration in one place.

Key Project Attributes:
- Title & Description - Clear identification
- Client/Employer - For billing and organization
- Color Coding - Visual differentiation
- Hourly Rate - Automatic earnings calculation
- Status - Active/Archived toggle
Navigating Projects
Project List Features:
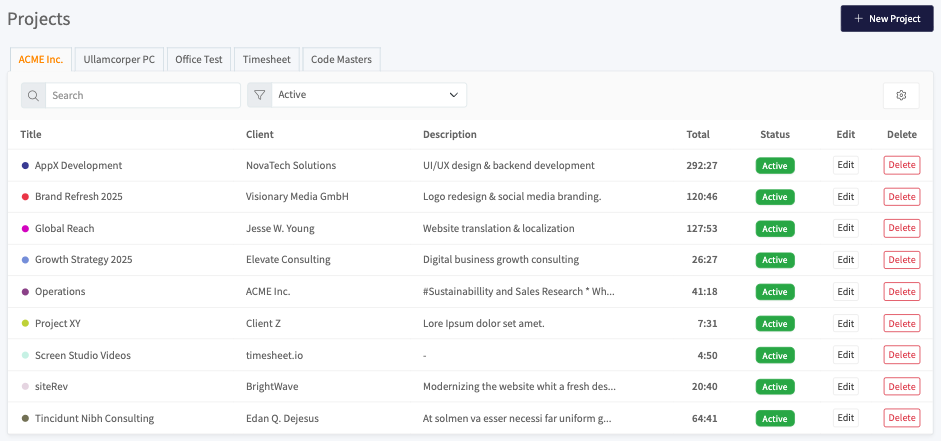
- Search by title, client, or description
- Filter by active/archived status
- Sort alphabetically or by time spent
- Team Selection - View projects by team
- Quick Actions - Edit/delete (based on permissions)
Attention
Deleting a project removes all associated Tasks and ToDos permanently
Project Details
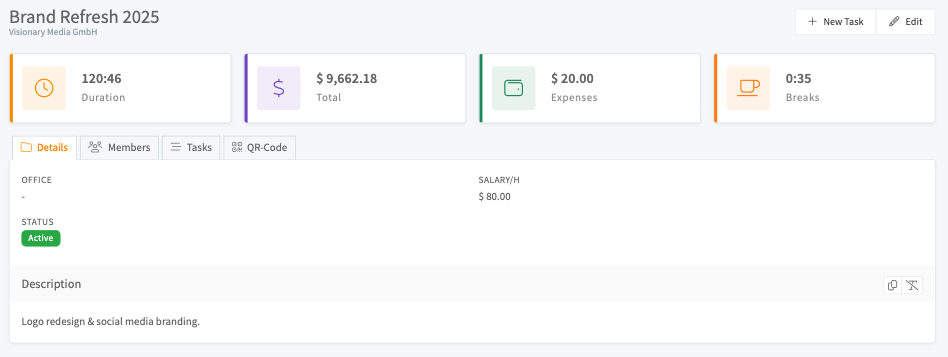
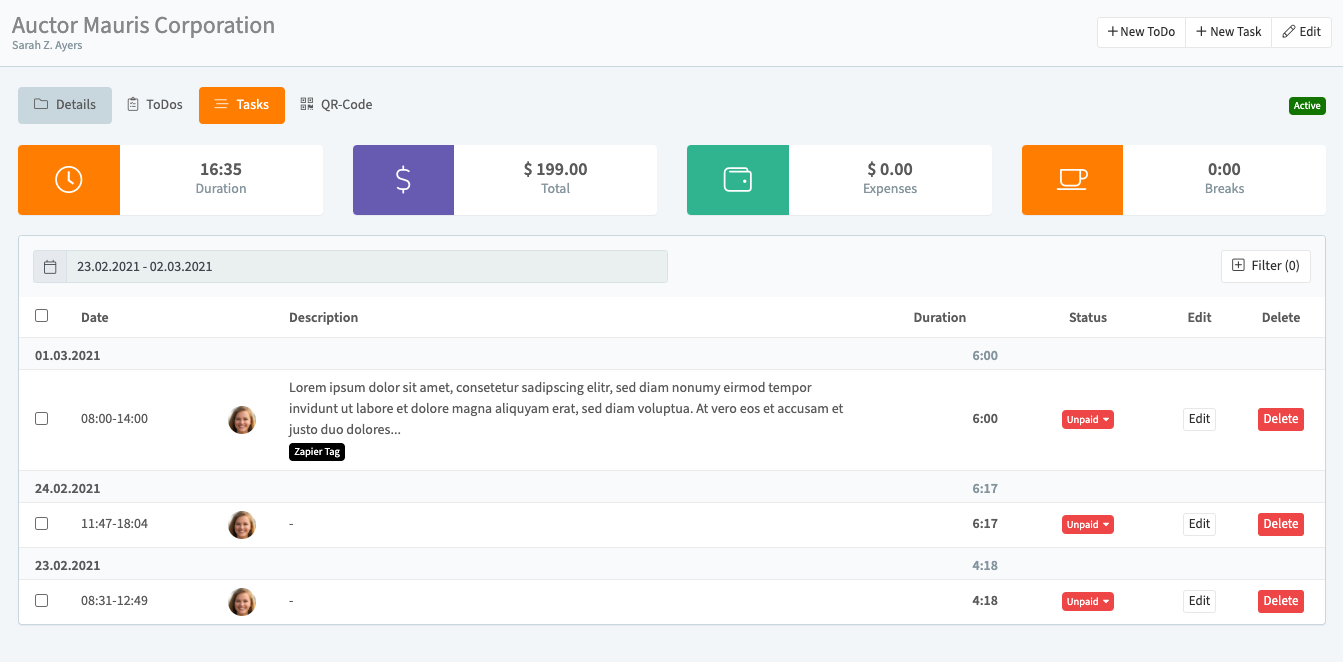
Access comprehensive project insights through dedicated tabs:

| Tab | Features |
|---|---|
| Details | Statistics, descriptions, settings |
| Tasks | All time entries with filters |
| ToDos | Task checklist and progress |
| QR Code | Mobile timer controls |

Creating a New Project
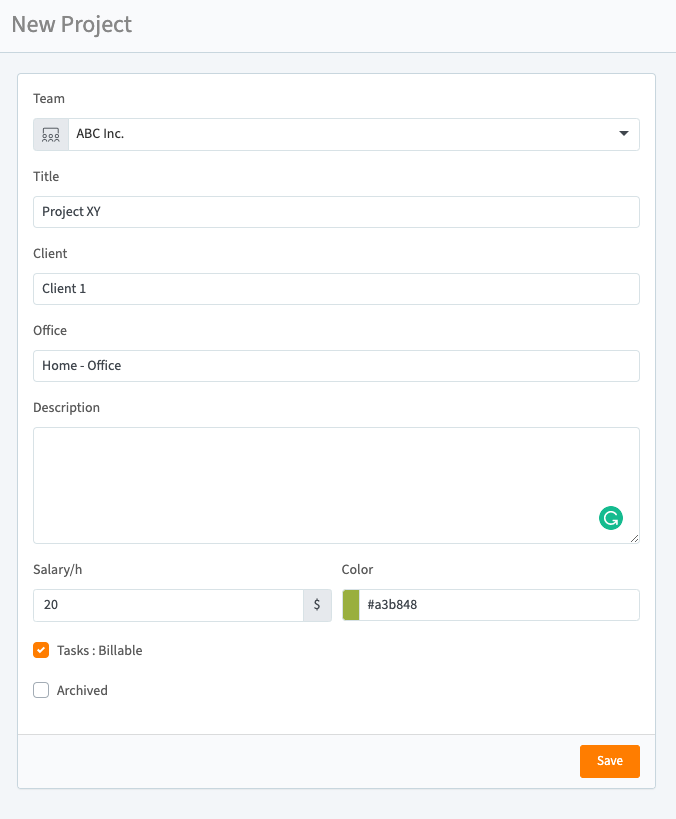
- Click "New Project" (top-right)
- Complete required fields:
- Title (required)
- Client/employer
- Description
- Location
- Configure settings:
- Team assignment (permanent selection)
- Hourly rate for automatic calculations
- Color scheme for visual identification
- Add team members (if team project)
- Click "Create"

Managing Project Status
- Active Projects: Available for time tracking
- Archived Projects: Preserved but hidden from timers
Earnings Calculation
Set an hourly rate to:
- Track project profitability
- Generate accurate client invoices
- Monitor personal earnings
Formula: Total Earnings = Hours Logged × Hourly Rate