Getting Started
Get up and running with Timesheet on your iPhone or iPad. This guide walks you through installation, account setup, and tracking your first time entry.
Download and Install
System Requirements
- iOS or iPadOS 26 or later
- iPhone or iPad
- Internet connection for the App Store download (the app itself works offline once installed)
Installing from App Store
- Open the App Store on your device
- Search for "Timesheet.io" or tap this link
- Tap Get to download
- Wait for installation to complete
- Tap Open or find the app on your Home Screen
If you have an Apple Watch, the companion app installs automatically. See Apple Watch for details.
Account Setup
Creating an Account
When you first launch Timesheet:
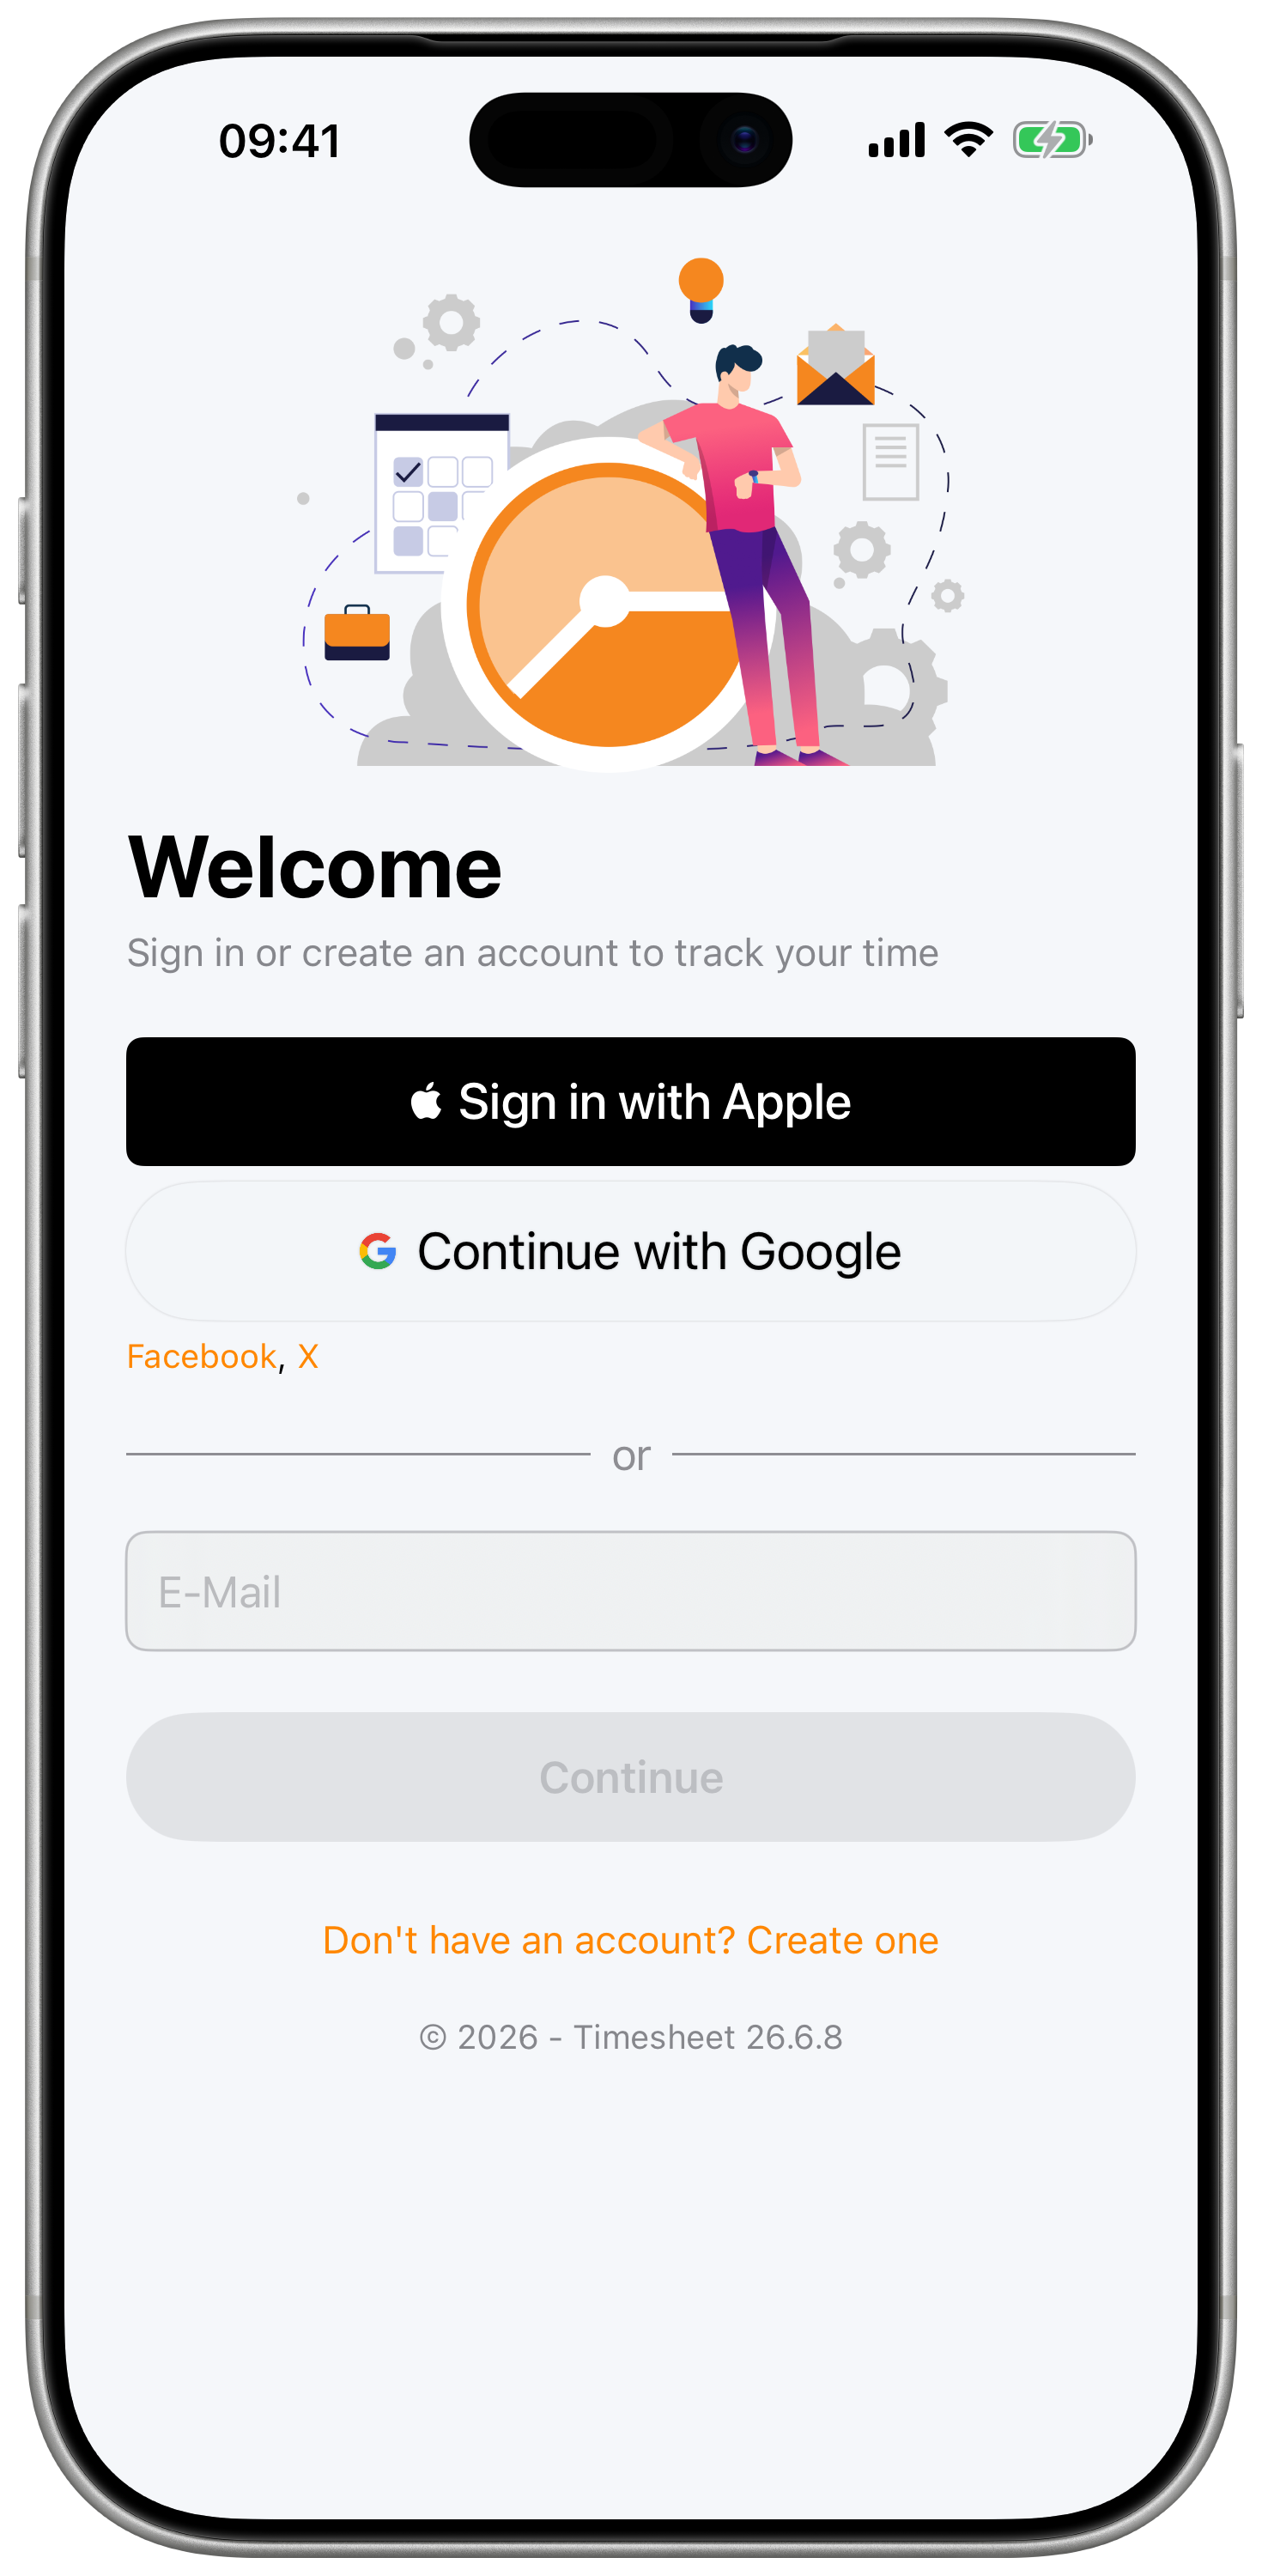
- Tap Sign Up
- Choose a sign-in method:
- Email - Create account with email and password
- Google - Sign in with your Google account
- Apple - Sign in with Apple ID
- Facebook - Sign in with Facebook
- Follow the prompts to complete setup
- Verify your email (if using email sign-up)
Sign-In Methods
| Method | Benefits |
|---|---|
| Apple | Privacy-focused, uses Face/Touch ID |
| Easy if you use Google services | |
| Quick if already signed in | |
| Works without third-party accounts |
Existing Account
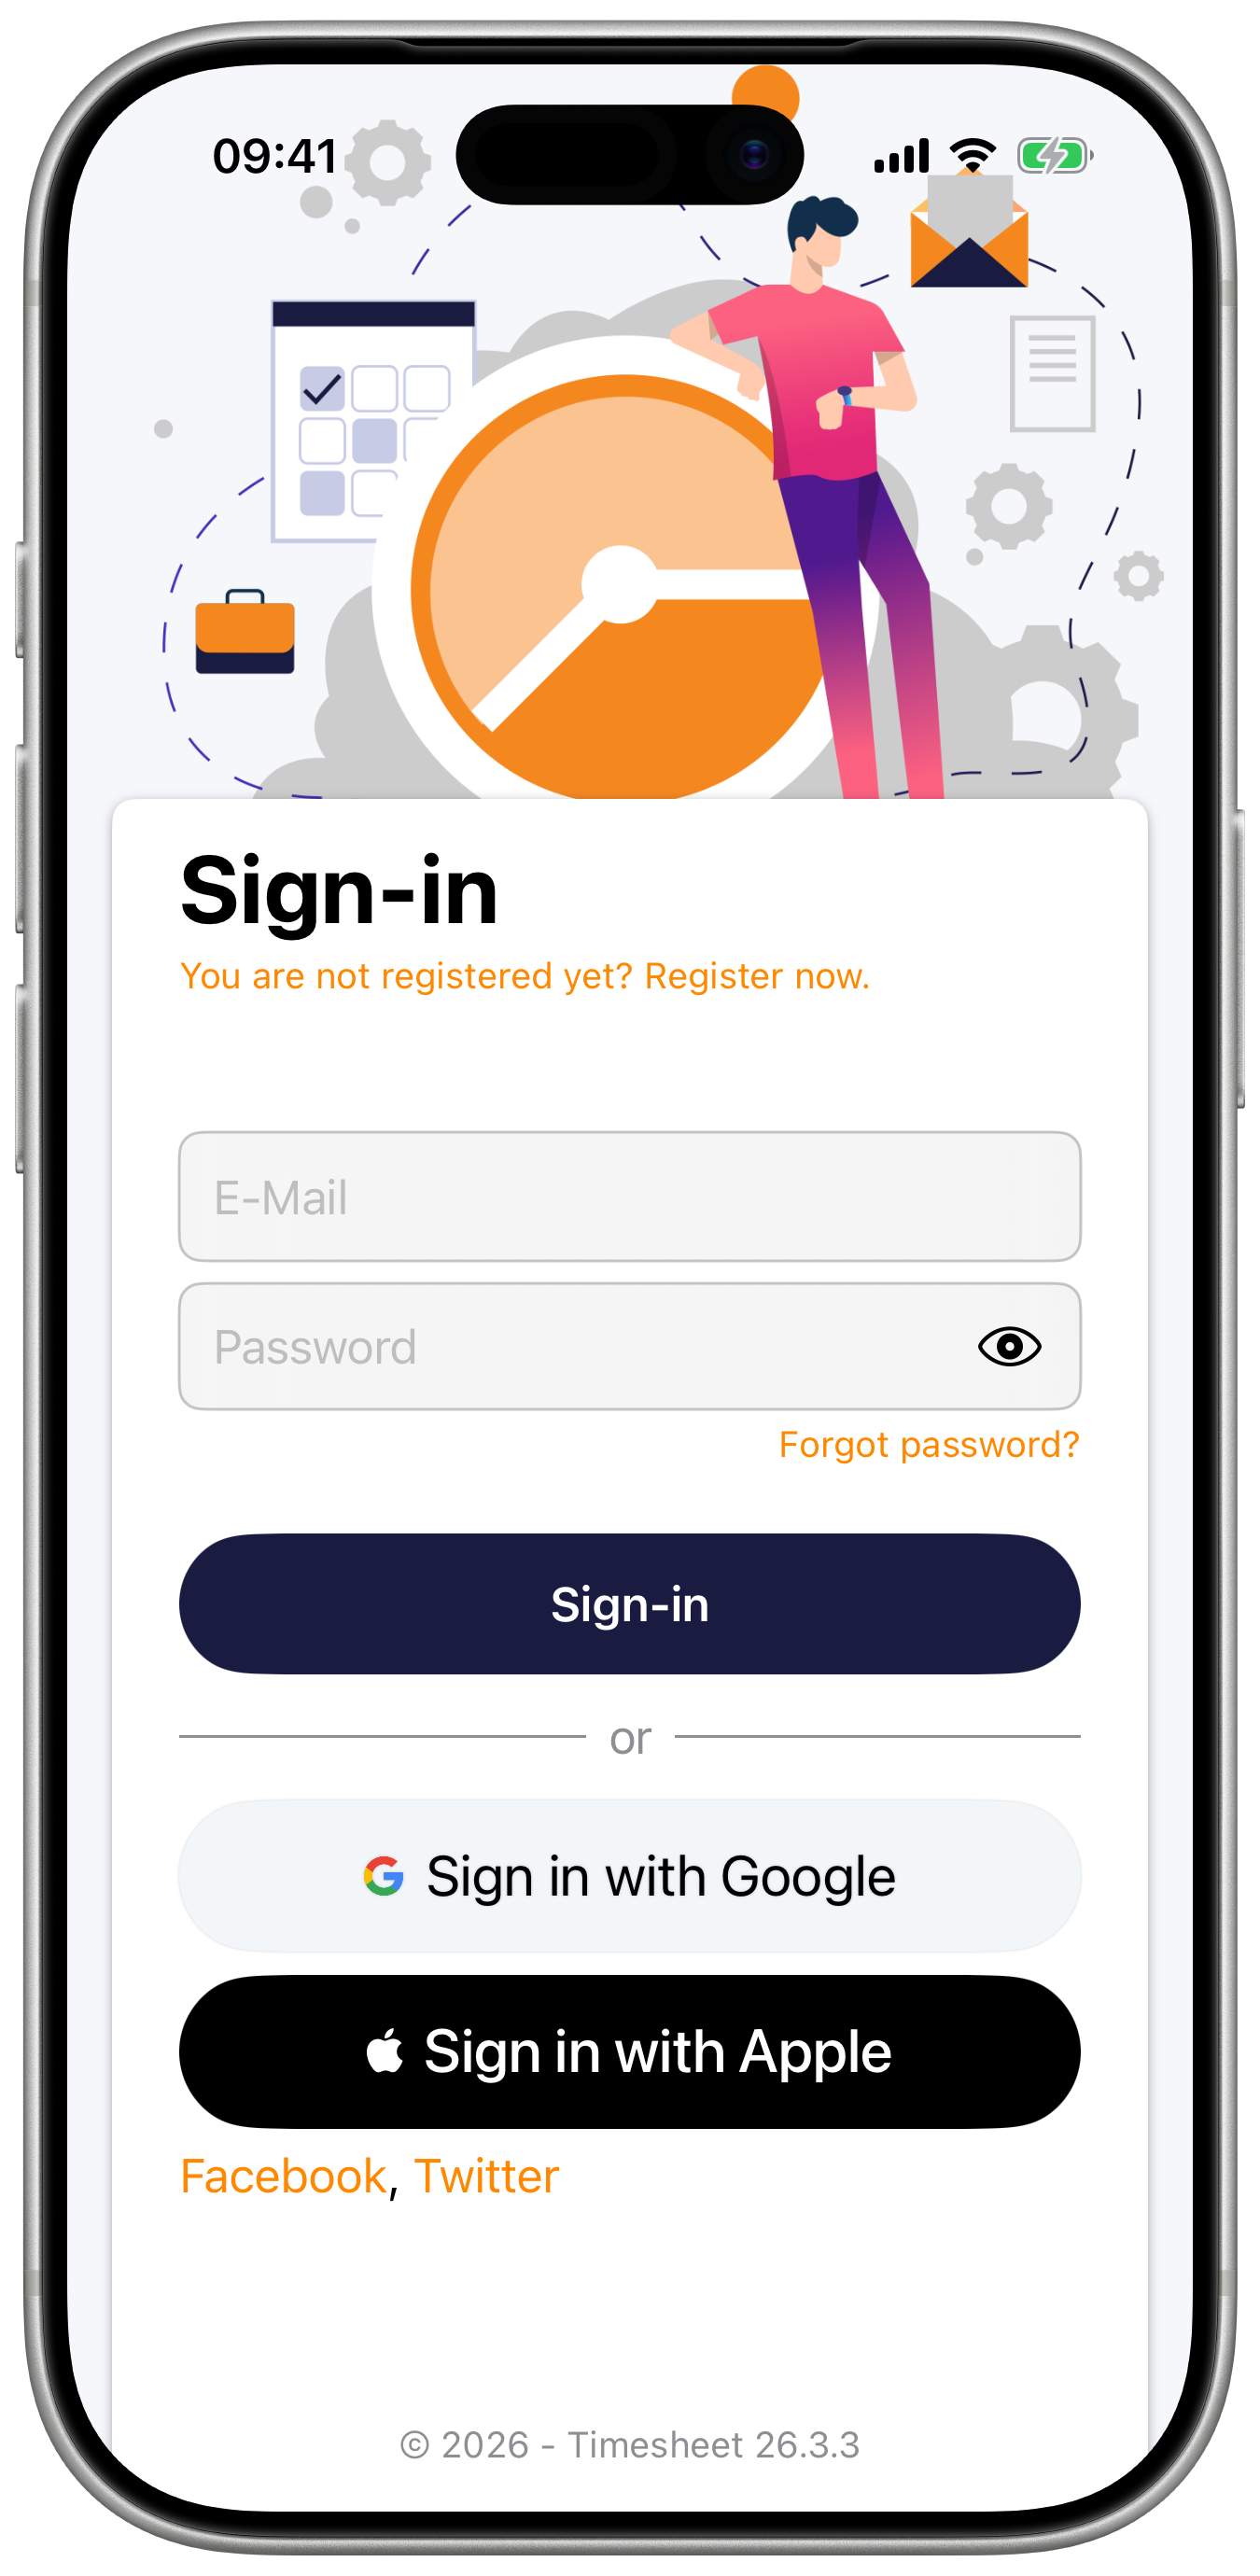
If you already have a Timesheet account:
- Tap Sign In
- Choose your sign-in method
- Enter credentials
- Your data syncs automatically
Initial Configuration
First Launch
After signing in, you'll see the Timer screen. Before tracking time:
- Create a project - Time entries need a project
- Configure settings - Optional but helpful
- Explore the interface - Familiarize yourself with tabs
App Navigation
The app uses a tab bar for navigation:
| Tab | Purpose |
|---|---|
| Timer | Start/stop time tracking |
| Tasks | View and manage time entries |
| Projects | Manage your projects |
| Statistics | View charts and summaries |
| More | Tags, Rates, Export, Automation, Templates, Settings, and more |
Creating Your First Project
Step by Step
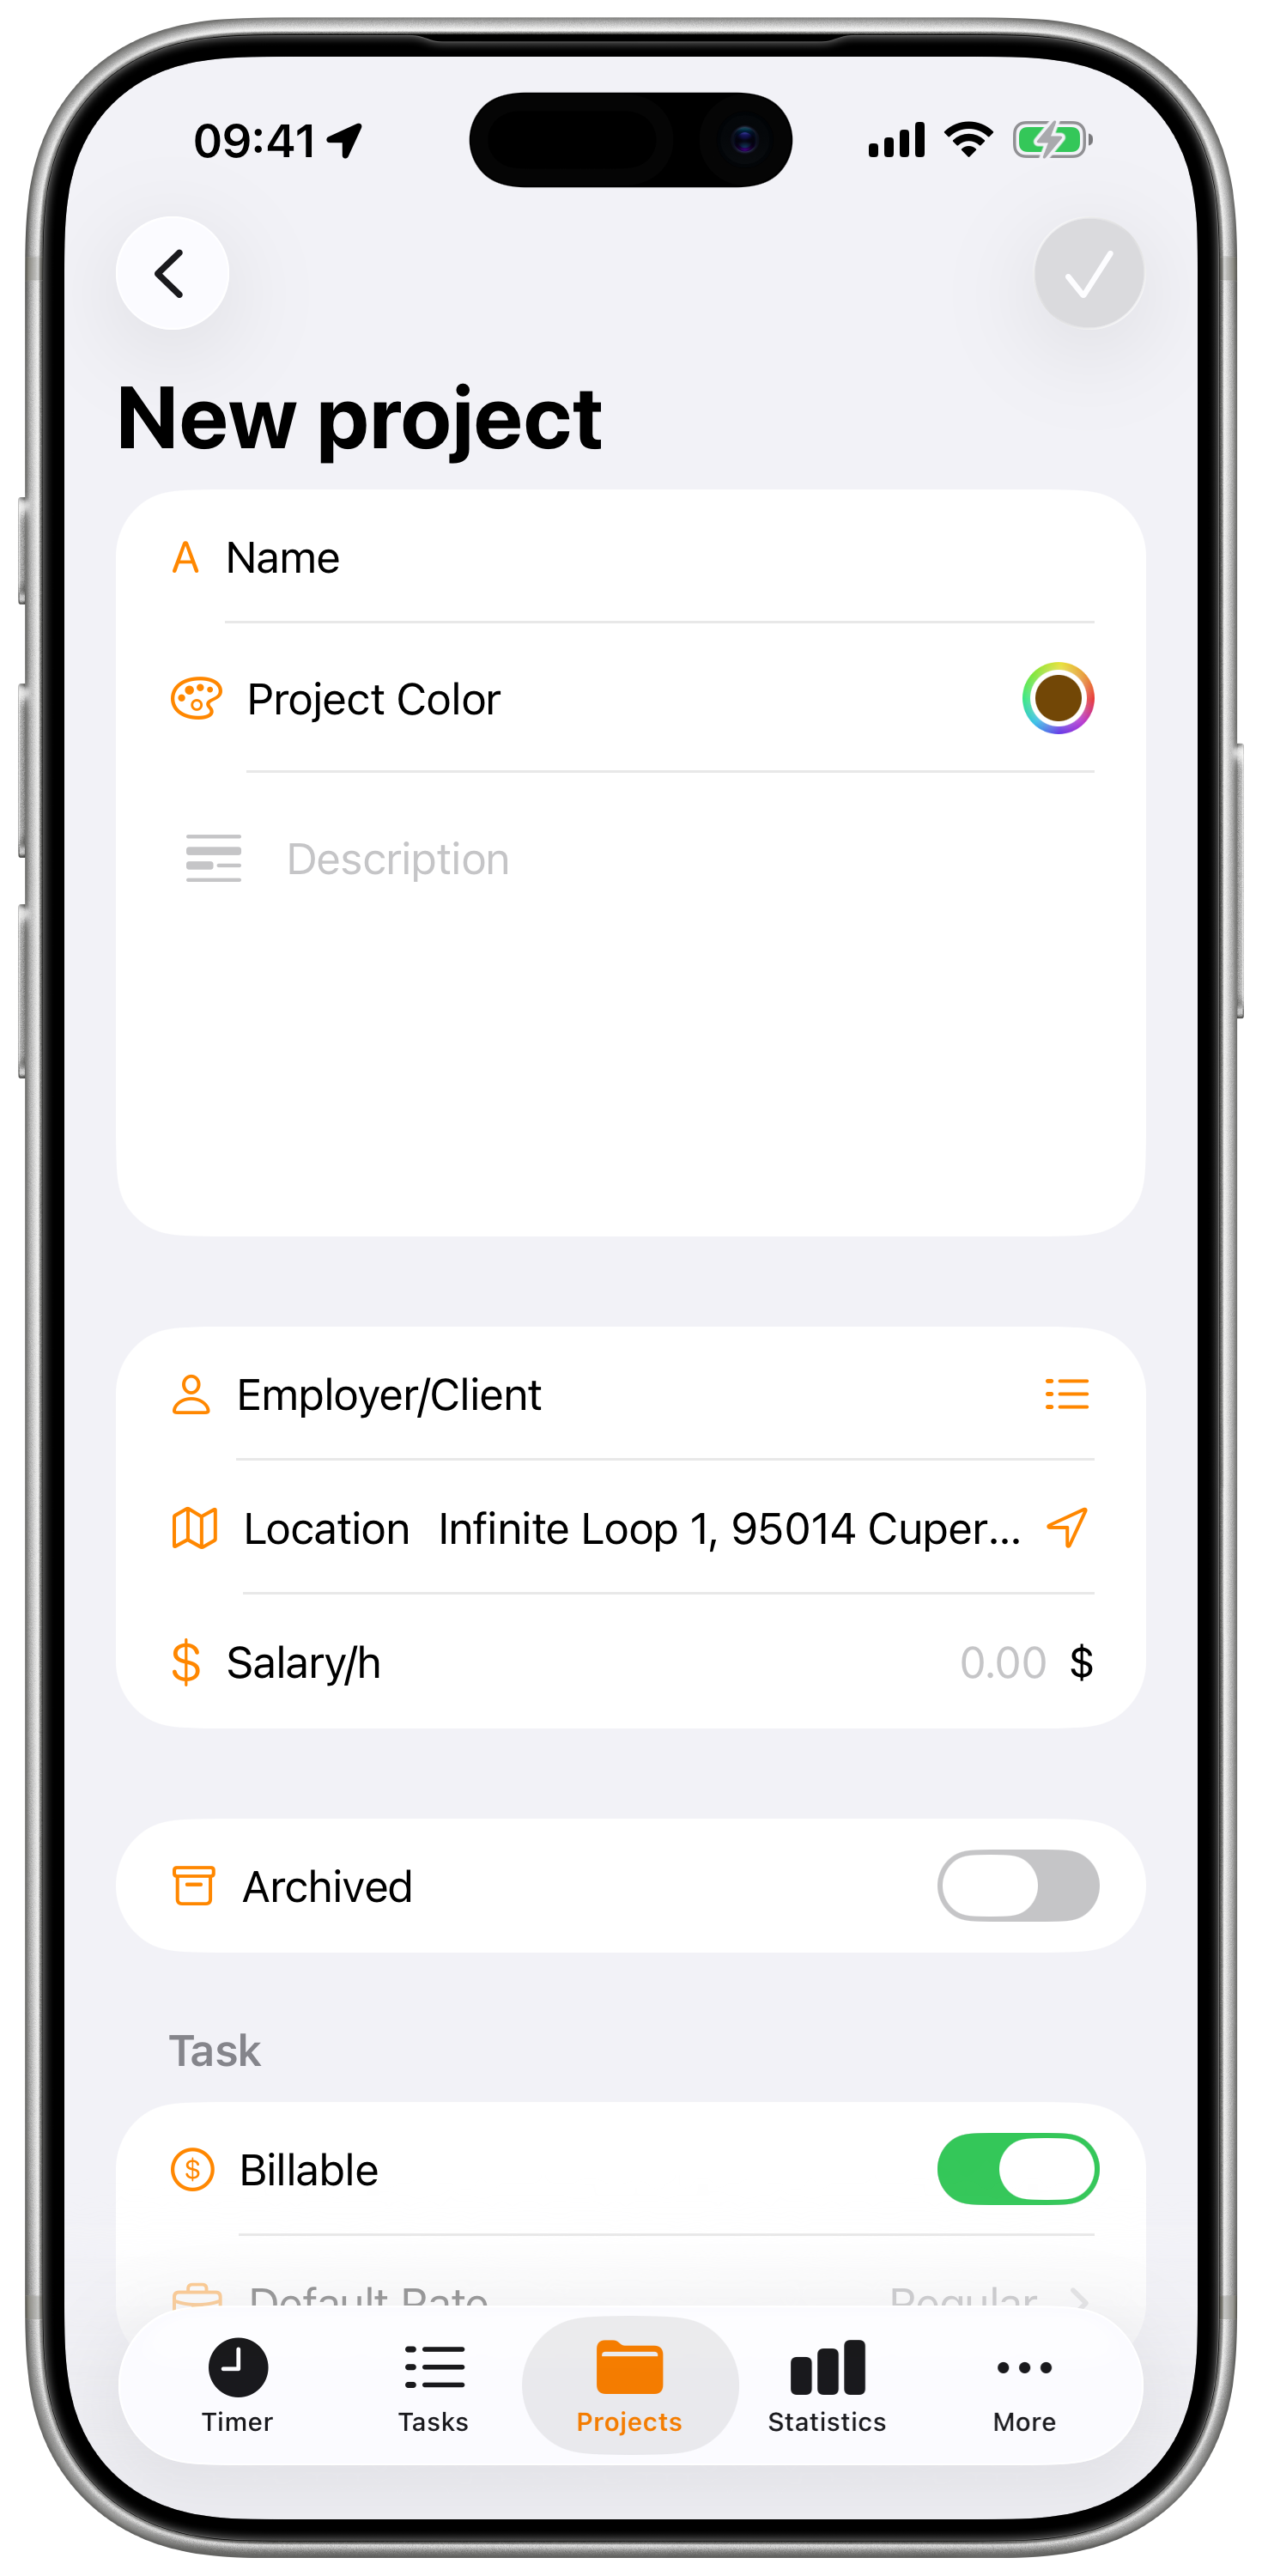
- Tap the Projects tab
- Tap the + button (top right)
- Enter project details:
- Name - e.g., "My First Project"
- Color - Choose a color for visual identification
- Salary/Hour (optional) - Your hourly rate for earnings
- Tap Save
Project Tips
- Start with one or two projects
- Use descriptive names
- Colors help identify projects at a glance
- You can add more projects later
A sample project may be created automatically. Feel free to use it for testing, then delete or archive it later.
Tracking Your First Time Entry
Using the Timer
The easiest way to track time:

- Go to the Timer tab
- Select your project (tap the project name)
- Tap the large Start button
- Work on your task
- Tap Stop when finished
That's it! Your time entry is saved automatically.
Timer Controls
| Button | Action |
|---|---|
| Start | Begin tracking time (long press for advanced options) |
| Stop | End tracking, save entry |
| Pause | Take a break (pause tracking) |
| Resume | Continue after break |
Adding Details
While the timer runs (or after stopping):
- Tap the edit icon (pencil) next to the project name
- Select Edit task
- Add a description
- Add tags (if you've created any)
- Save changes
Quick Statistics
Viewing Your Time
The Timer screen shows quick statistics in the Duration card:
- Day - Hours tracked today
- Week - This week's total
- Month - This month's total
Tap any statistic to see the task list for that period.
Salary Statistics (Plus/Pro)
With a Plus or Pro subscription, you can also see a Salary card showing your earnings for Day/Week/Month.
Understanding the Interface
Timer Screen Elements
| Element | Description |
|---|---|
| Project selector | Tap to change projects |
| Duration display | Current timer time (elapsed) |
| Status | "Started at X:XX" when running |
| Template chips | Quick-start buttons (can be hidden) |
| Duration card | Day/Week/Month time totals |
| Salary card | Day/Week/Month earnings (Plus/Pro) |
| Action buttons | Start, Stop, Pause, Resume |
Long press the Start button to access advanced options like setting a custom start time.
Task List Elements
| Element | Description |
|---|---|
| Filter bar | Current period and totals |
| Task entries | Individual time records |
| Edit button | Enter selection mode |
| + button | Add manual entry |
Project List Elements
| Element | Description |
|---|---|
| Project cards | Color, name, hours, earnings |
| Filter button | Show/hide archived |
| + button | Create new project |
Recommended Settings
Essential Configuration
Go to More → Settings and consider adjusting:
| Setting | Recommended |
|---|---|
| Date Format | Match your locale |
| Time Format | 12-hour or 24-hour |
| First Day of Week | Sunday or Monday |
| Currency | Your local currency |
Timer Settings
| Setting | Purpose |
|---|---|
| Rounding | Round to nearest interval |
| Edit View | Open editor when stopping |
Notifications
Enable notifications to:
- See timer status on Lock Screen
- Get reminders about running timers
- Receive sync notifications
See Settings for complete configuration options.
Free vs Paid Features
Basic (Free) Plan
The free plan includes:
- Unlimited time tracking
- Unlimited projects
- Basic statistics
- CSV export
- Local data storage
- 1 task template
Plus Plan
Upgrade to Plus for:
- Cloud sync across devices
- Secure note and attachment storage
- Additional task templates
- Advanced task filters
- Expense attachments
Pro Plan
Upgrade to Pro for:
- Everything in Plus
- Web app access
- Teams and collaboration
- Advanced analytics and charts
- Excel export
- Unlimited task templates
- Custom PDF invoicing (via Web App)
Start with the free plan to learn the app. Upgrade when you need advanced features or multiple devices.
Next Steps
Now that you're set up, explore more features:
Learn the Basics
Enhance Your Workflow
- Tags and Rates - Categorize and price work
- Task Templates - Quick-start common tasks
- Statistics - Analyze your time
Automate and Extend
- Automation - Location-based tracking
- Widgets - Home Screen access
- Siri & Shortcuts - Voice control
Integrate
- Apple Watch - Track from your wrist
- Teams - Collaborate with others
- Export - Share your data
Troubleshooting
App Won't Open
- Ensure iOS is up to date
- Restart your device
- Delete and reinstall the app
- Contact support if issue persists
Can't Create Account
- Check internet connection
- Try a different sign-in method
- Verify email format is correct
- Check for typos in password
Data Not Syncing
- Verify you're signed in
- Check internet connection
- Pull down to refresh
- Sign out and sign back in
Timer Not Working
- Check a project is selected
- Ensure app has necessary permissions
- Force close and reopen app
- Check for app updates
Visit our support page or contact support@timesheet.io for assistance.