Tags and Rates
Tags and Rates help you organize your work and track earnings accurately. Tags categorize tasks across projects, while rates define how your time translates to income.
On iPad with enough screen space (full-screen or a wide split view), the Tags and Rates screens render as a two-column list + detail layout. Tapping a row opens the edit view in the right column. See iPad Cockpit → List + detail.
Tags Overview
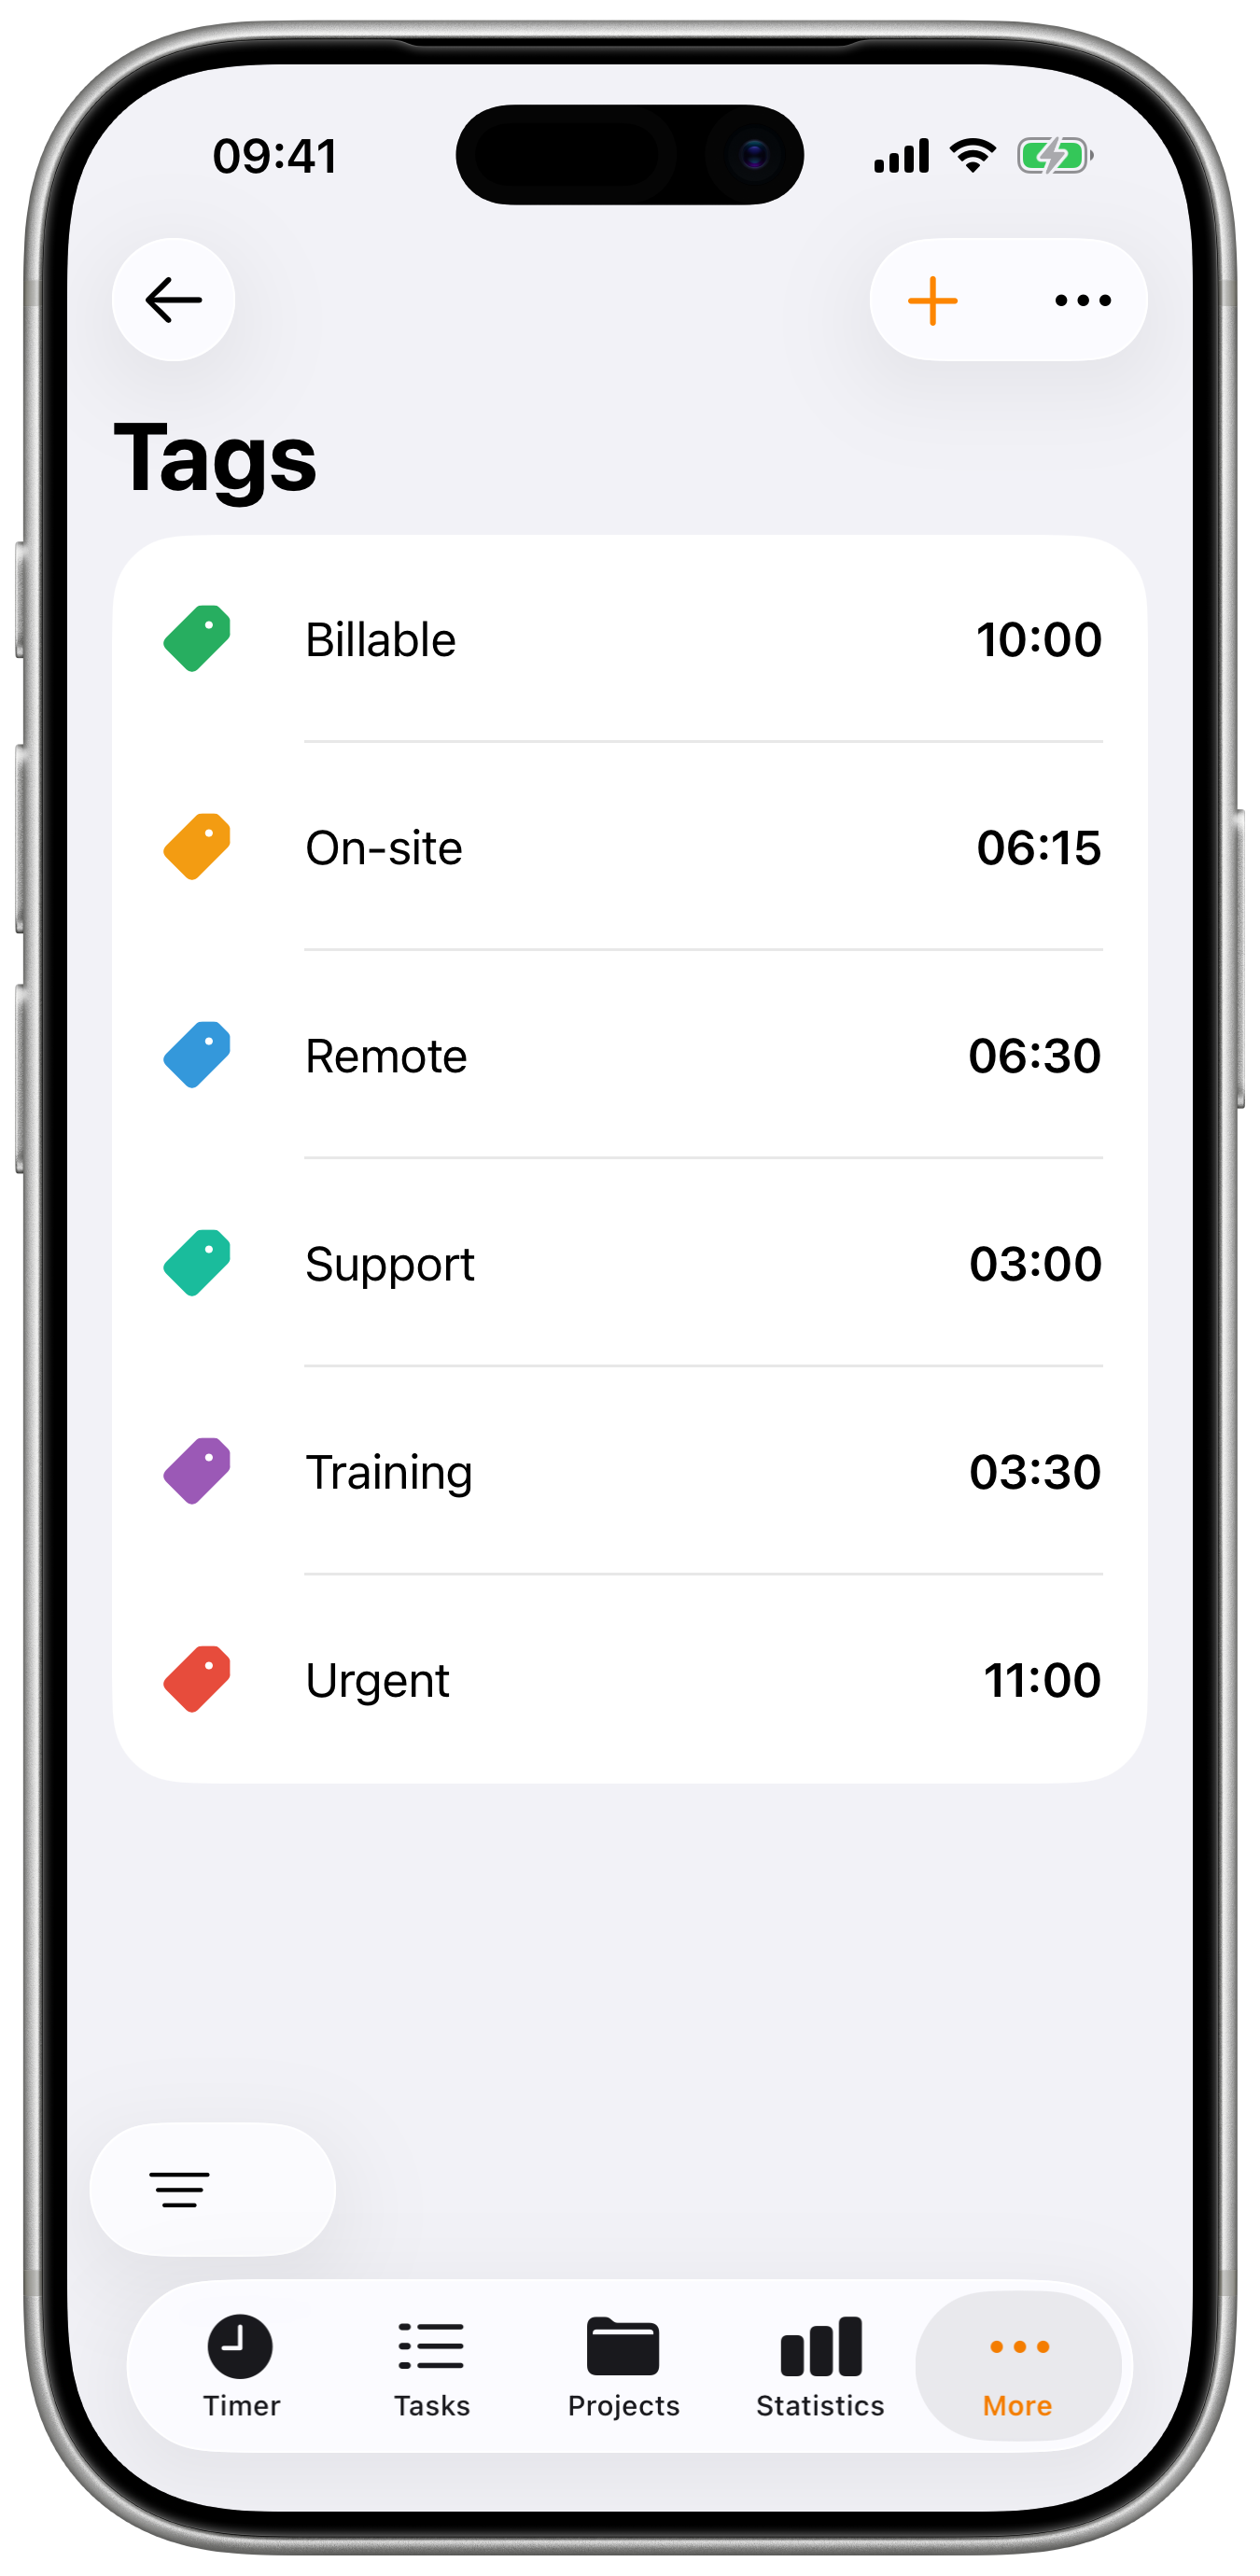
Tags are color-coded labels you can assign to any task. Unlike projects, tags work across your entire workspace, making them perfect for categorizing work by type, priority, or any other dimension.
Common Tag Uses:
- Work types: "Meeting", "Development", "Design", "Admin"
- Priority levels: "Urgent", "Normal", "Low Priority"
- Clients: "Client A", "Client B" (for multi-client projects)
- Status: "Review Needed", "Blocked", "In Progress"
Creating Tags
Step by Step
- Go to Settings → Tags
- Tap the + button
- Enter a tag name
- Choose a color
- Tap Save
Tag Properties
| Property | Description |
|---|---|
| Name | Descriptive label (e.g., "Meeting") |
| Color | Visual identifier in lists and charts |
| Team | Share with team members (Pro) |
Choosing Colors
Select colors strategically:
- Consistent meanings - Red for urgent, green for complete
- Visual distinction - Different colors for different categories
- Brand alignment - Match client or project colors
Using Tags
Assign to Tasks
When creating or editing a task:
- Tap Add tags field
- Select one or multiple tags
- Tags appear as colored chips
- Remove by tapping the X on a tag
Tags on Running Timer
Add tags while tracking:
- With timer running, tap the edit icon
- Select Add tags
- Choose your tags
- Continue tracking
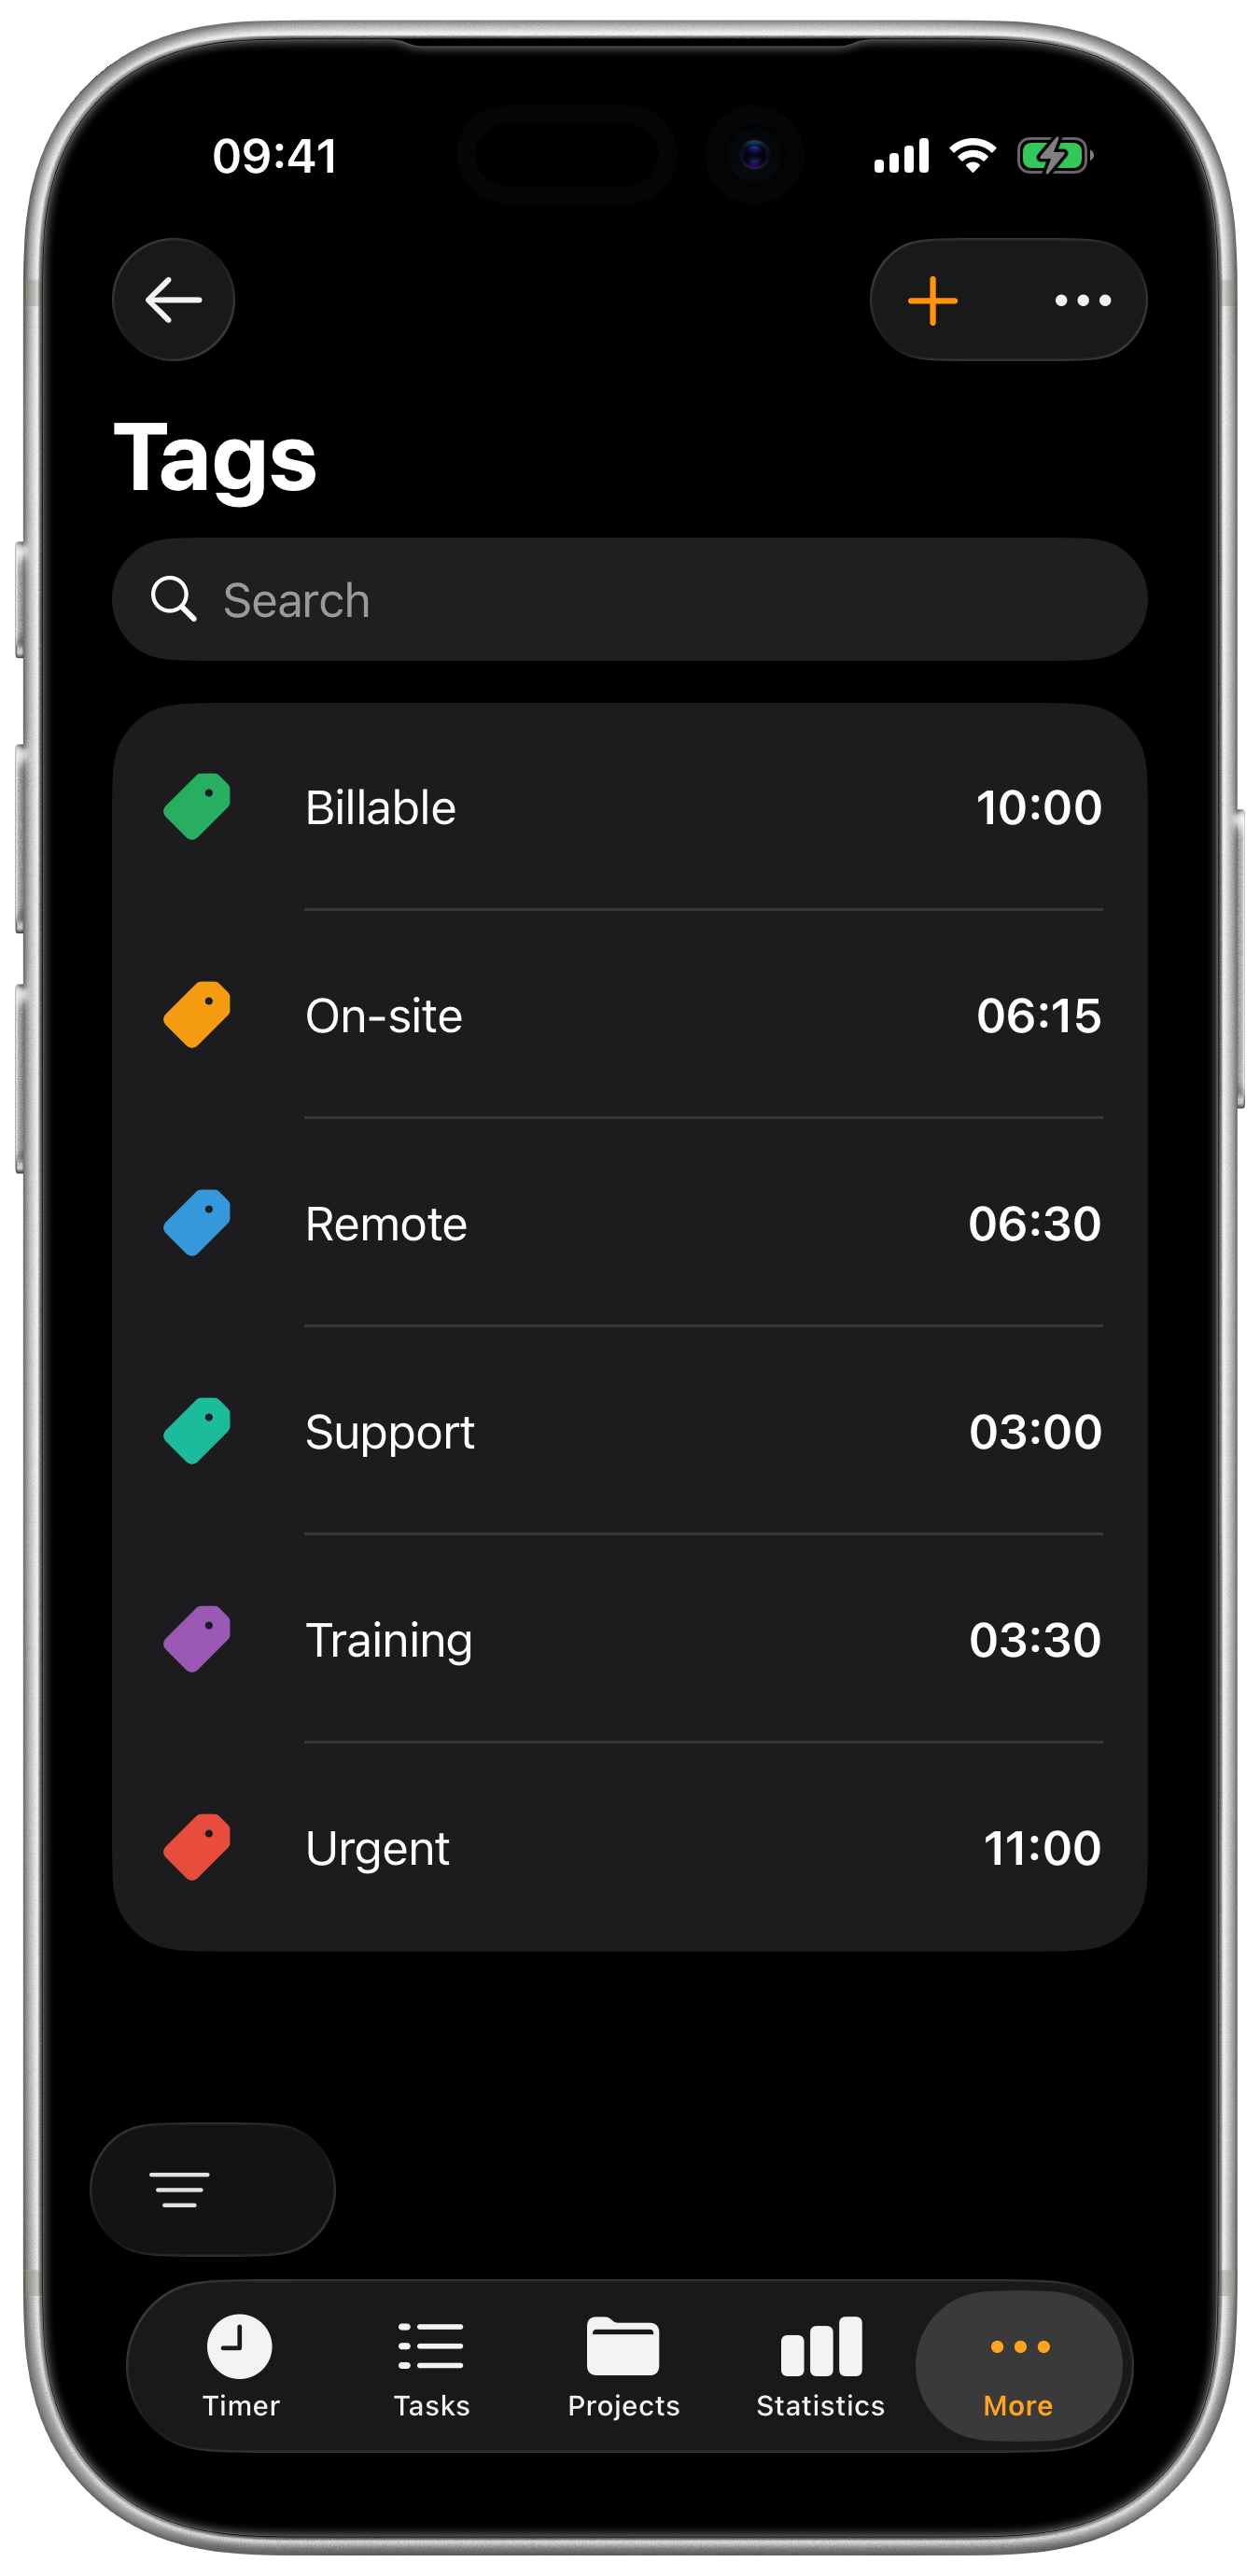
Filter by Tags
Find tagged tasks quickly:
- Open the Task List
- Tap the filter bar
- Select Tags filter
- Choose one or more tags
- View only matching tasks
Tasks can have multiple tags. Use combinations like "Meeting" + "Client A" for precise categorization.
Tag Statistics
View time distribution by tags in Statistics:
- Open Statistics
- Find the Tags chart
- See time spent per tag
- Identify where effort is concentrated
Insights from Tag Stats:
- How much time goes to meetings
- Development vs. admin ratio
- Client-specific time allocation
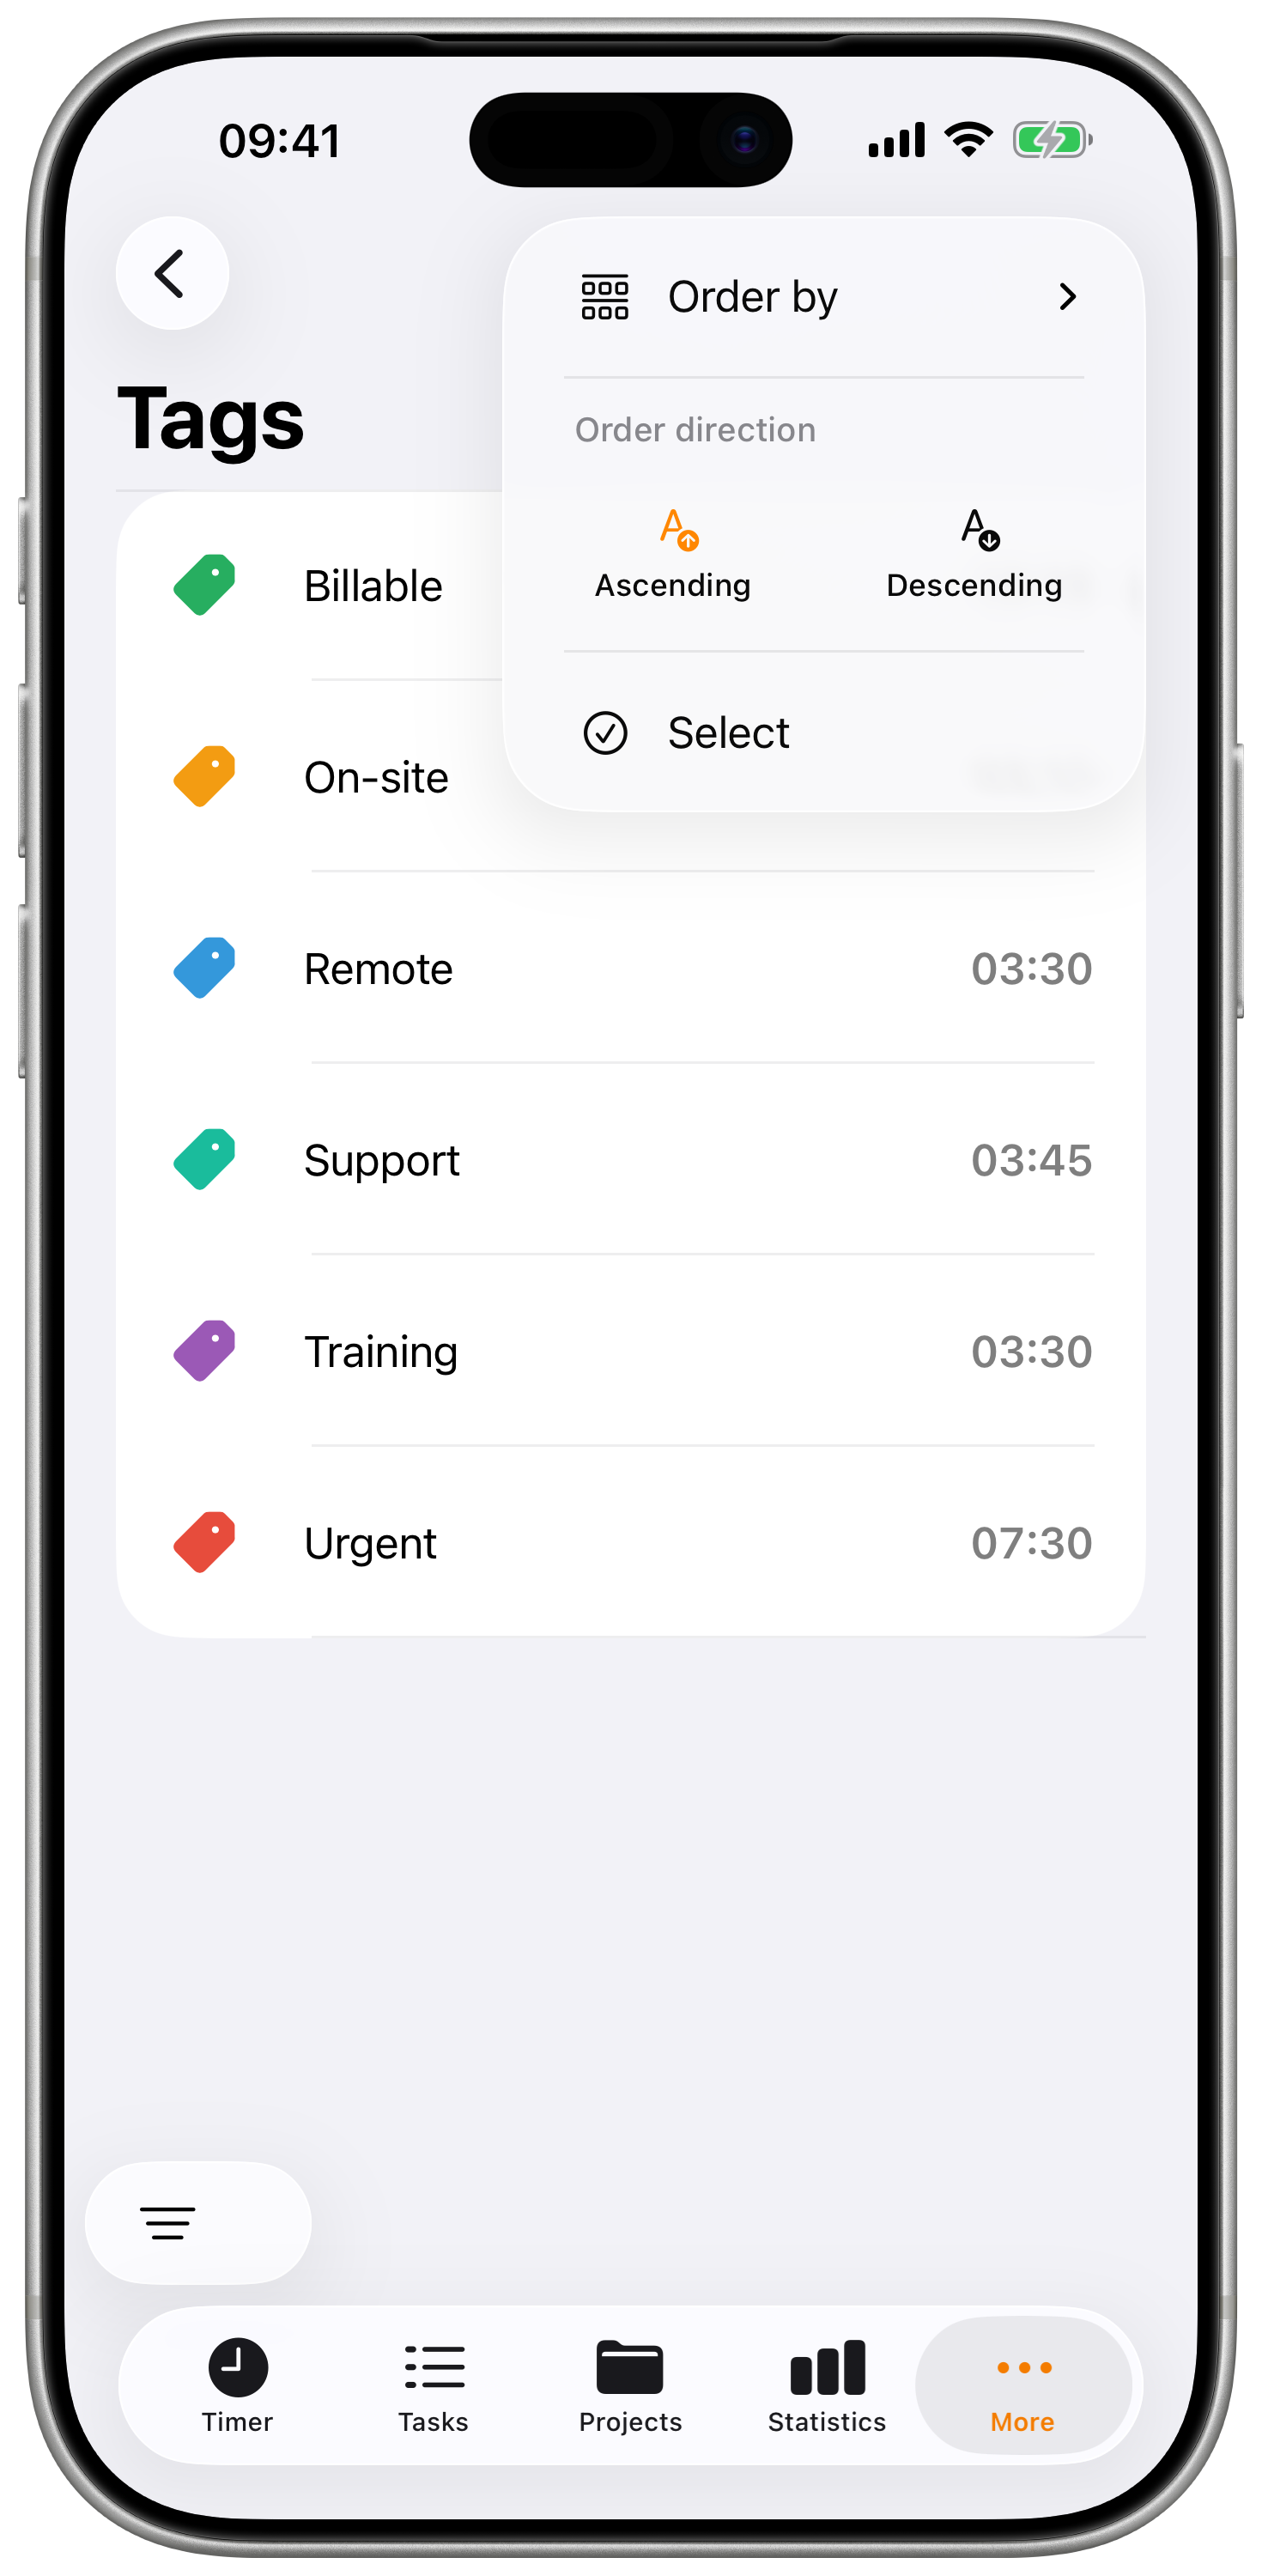
Managing Tags
Edit a Tag
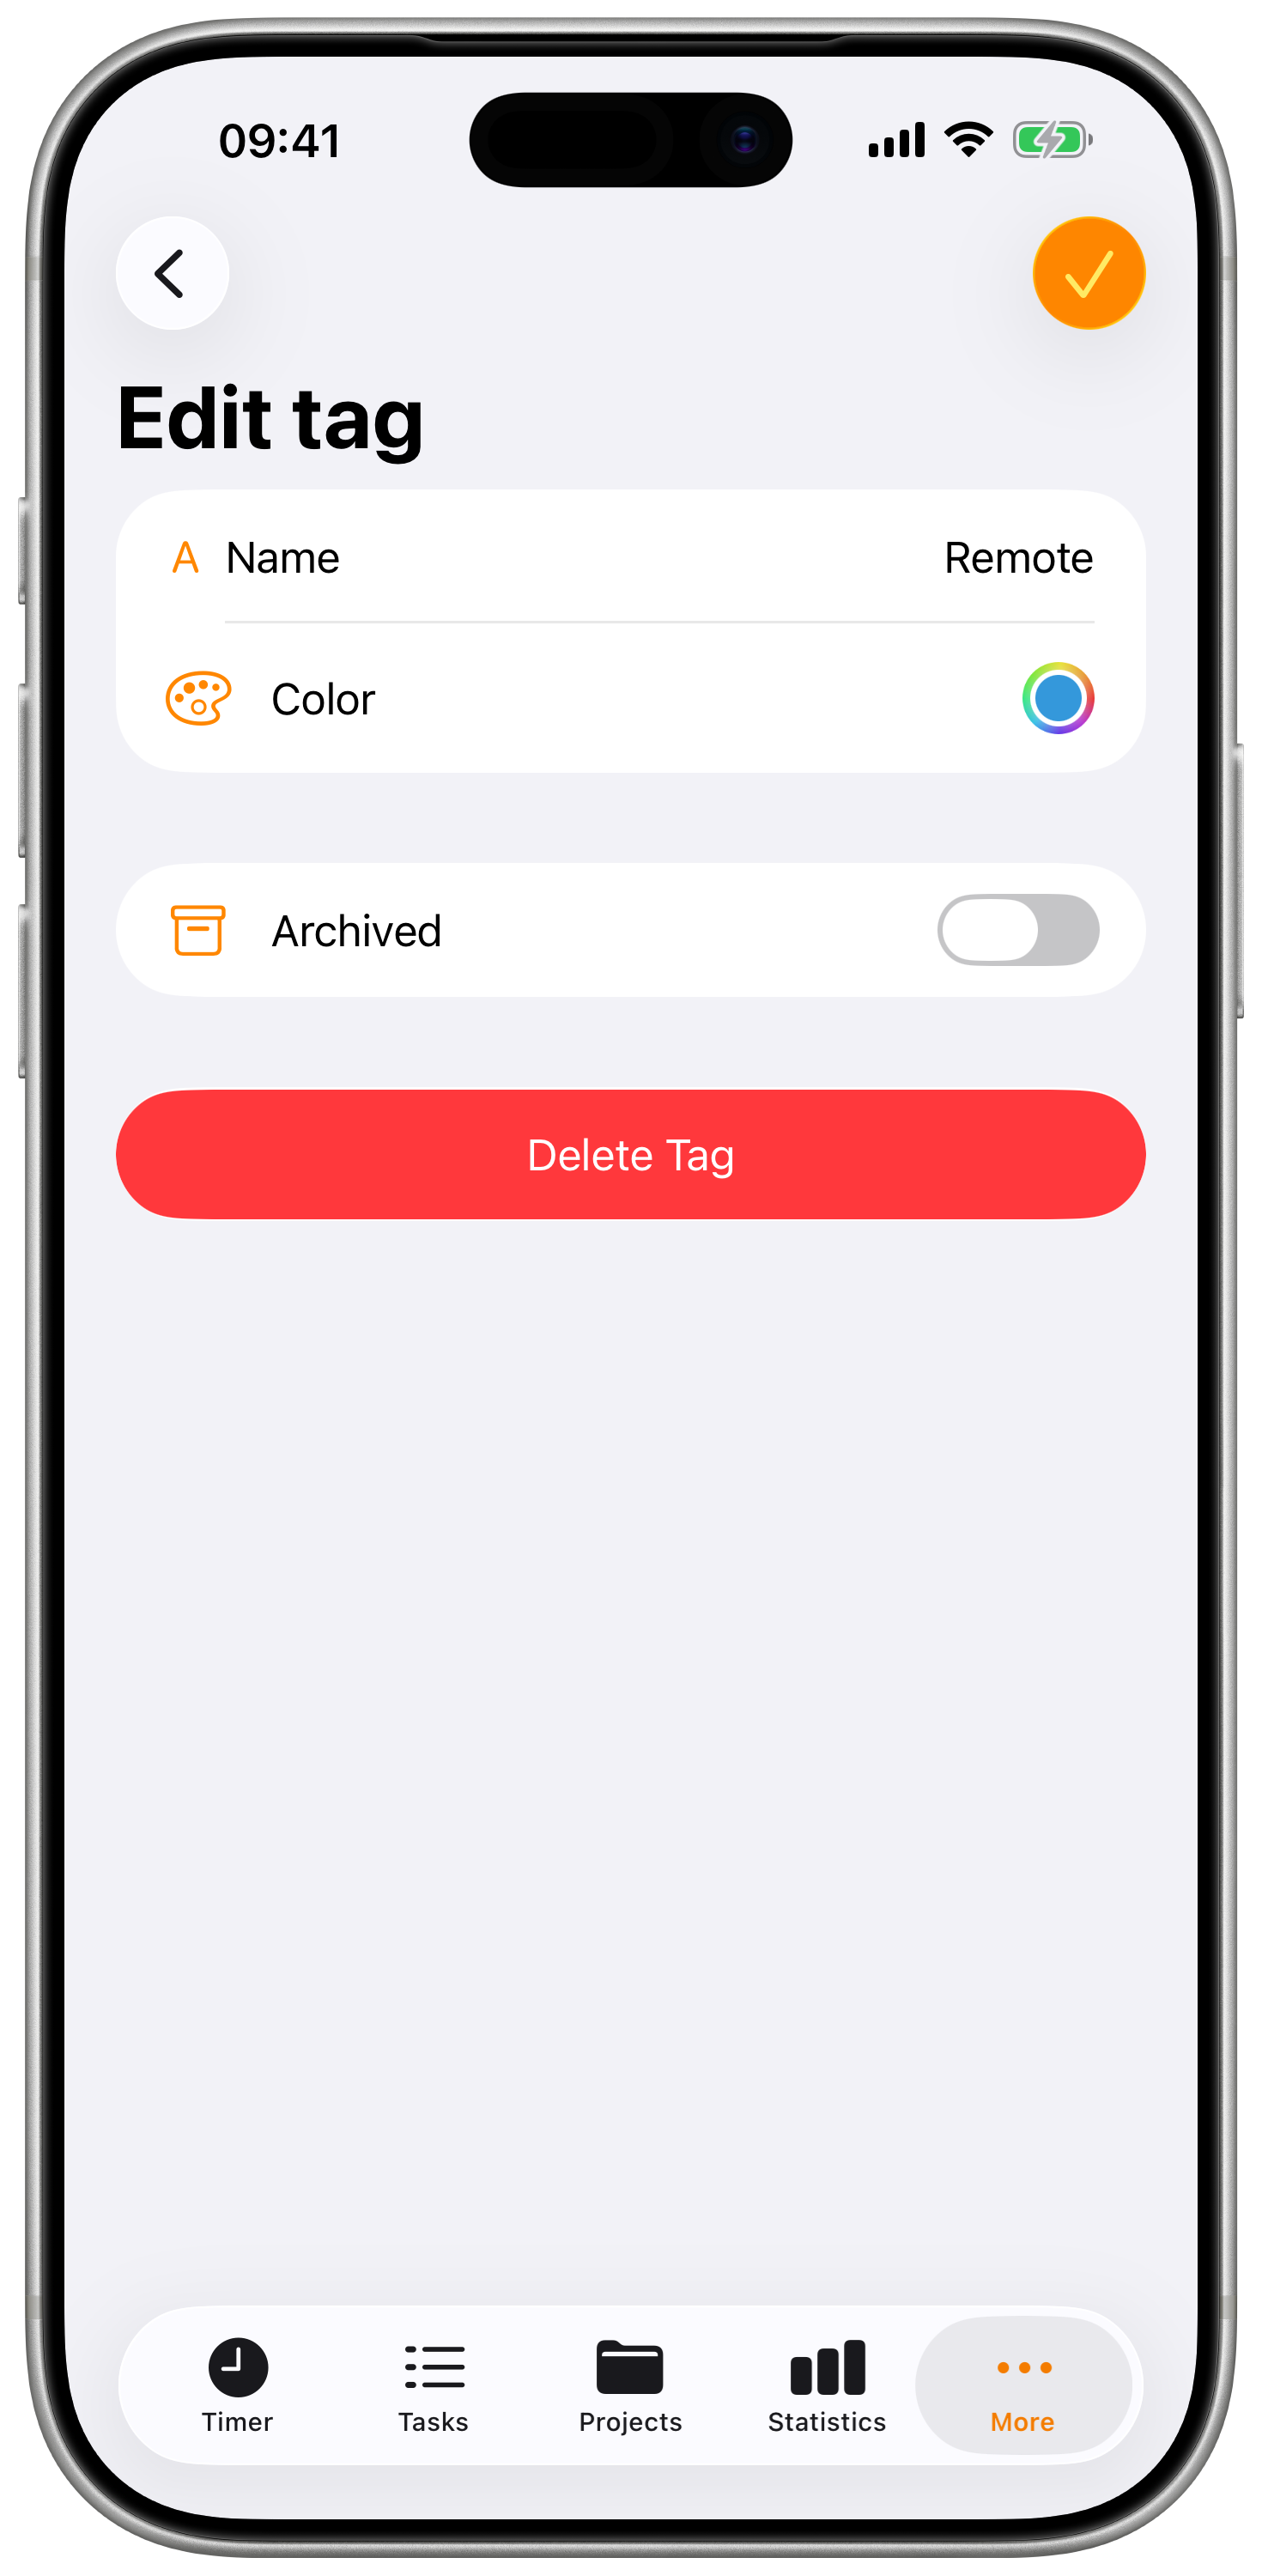
- Go to Settings → Tags
- Tap the tag to edit
- Modify name or color
- Save changes
Changes apply to all tasks with that tag.
Archive a Tag
For tags you no longer use:
- Go to Settings → Tags
- Swipe left on the tag
- Tap Archive
Archived Tag Behavior:
- Hidden from tag picker
- Historical data preserved
- Can be unarchived later
- Existing tasks keep the tag
Delete a Tag
Permanently remove a tag:
- Go to Settings → Tags
- Swipe right on the tag
- Tap Delete
- Confirm deletion
Deleting a tag removes it from ALL tasks, past and present. Consider archiving instead to preserve historical categorization.
Team Tags
Team tags require a Pro subscription with Teams enabled.
Share tags across your team for consistency:
Personal vs Team Tags
| Type | Visibility | Use Case |
|---|---|---|
| Personal | Only you | Individual categorization |
| Team | All team members | Consistent team reporting |
Creating Team Tags (Admin)
- Go to Settings → Tags
- Tap + to create
- Enable Team Tag
- Select the team
- Save
Team members see the tag immediately.
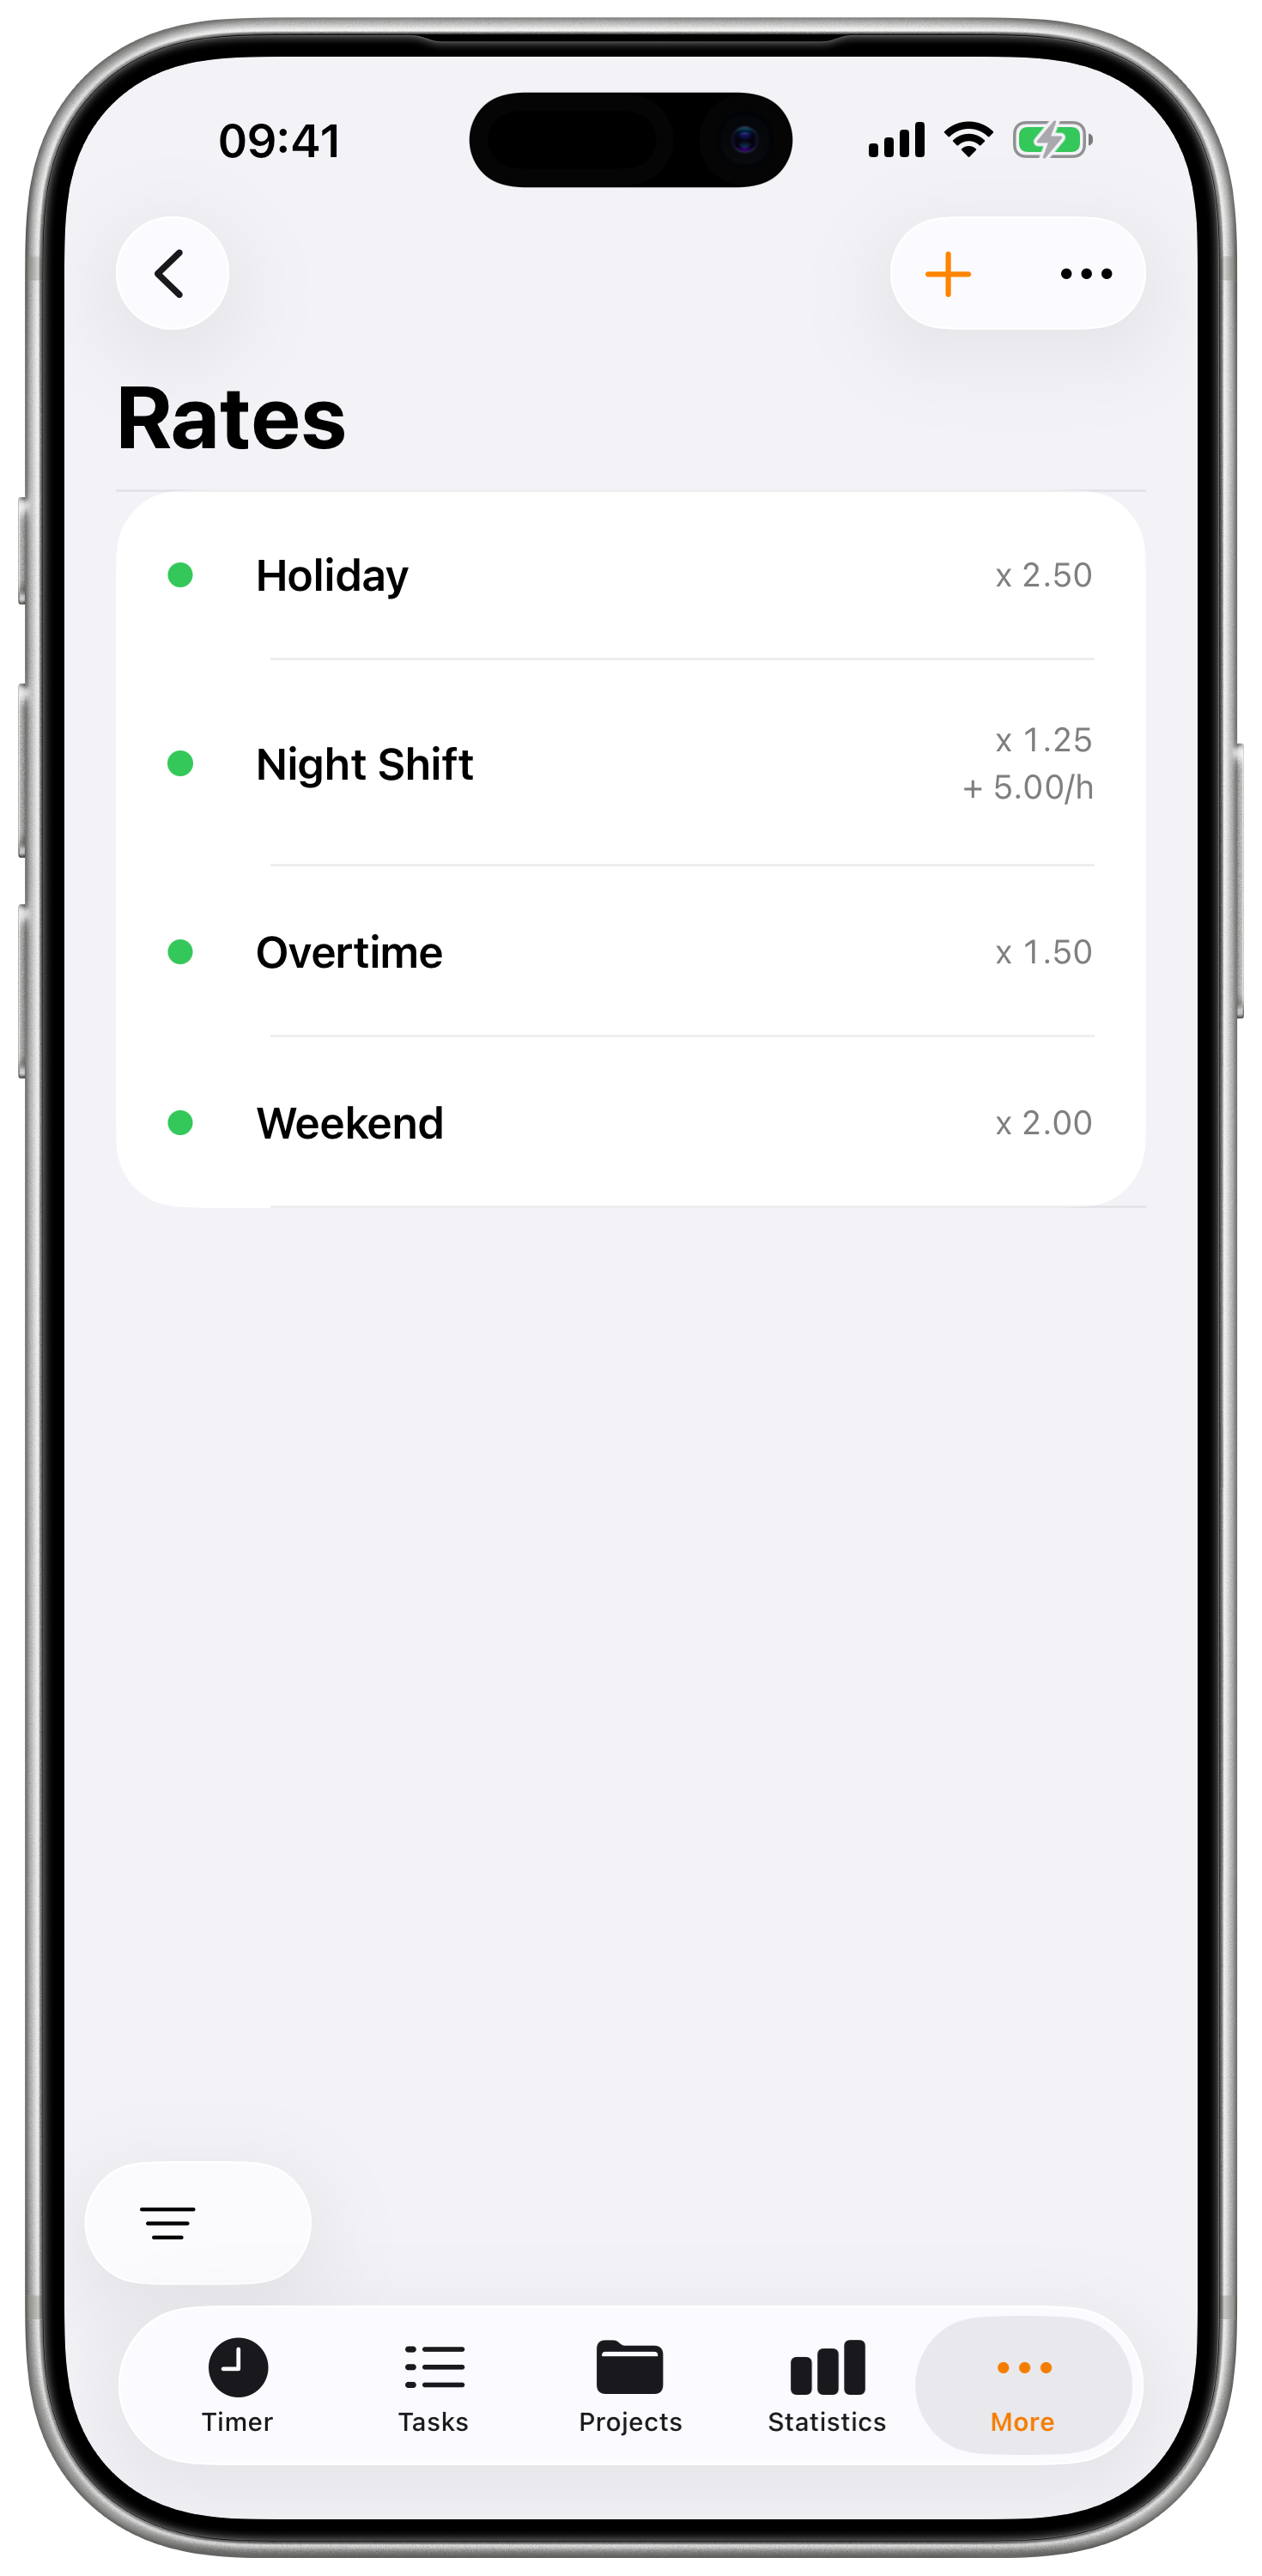
Rates Overview
Rates modify how your tracked time converts to earnings by applying multipliers and extras to your project's base hourly salary.
How Rates Work:
- Each project has a Salary/Hour (base rate, e.g., $50/hour)
- Rates apply a Factor (multiplier) and optional Extra (fixed addition)
- Task earnings = Hours × (Project Salary × Factor) + Extra
Rate Use Cases:
- Standard work (factor 1.0)
- Overtime (factor 1.5)
- Weekend/holiday work (factor 2.0)
- Discounted rates (factor 0.5)
- Travel/per diem additions (extra amount)
Creating Rates
Step by Step
- Go to Settings → Rates
- Tap the + button
- Configure rate properties
- Tap Save
Rate Properties
| Property | Description | Example |
|---|---|---|
| Title | Descriptive name | "Standard", "Overtime", "Weekend" |
| Factor | Multiplier applied to project salary | 1.0, 1.5, 2.0 |
| Extra | Fixed amount added per hour | $0, $10, $25 |
| Enabled | Whether rate appears in picker | On/Off |
| Archived | Hide from picker but preserve | On/Off |
Understanding Rate Calculations
Rates multiply the project's base Salary/Hour:
| Rate Name | Factor | Extra | Project Salary | Effective Rate |
|---|---|---|---|---|
| Standard | 1.0 | $0 | $50/h | $50/hour |
| Overtime | 1.5 | $0 | $50/h | $75/hour |
| Weekend | 2.0 | $0 | $50/h | $100/hour |
| Discounted | 0.5 | $0 | $50/h | $25/hour |
| Night Shift | 1.0 | $10 | $50/h | $60/hour |
Key Point: The same rate applied to different projects produces different earnings based on each project's Salary/Hour.
For rates to calculate earnings, the project must have a Salary/Hour set. Without a project salary, rate factors have nothing to multiply.
Using Rates
Default Project Rate
Set a default rate for each project:
- Open a project's settings
- Find Default Rate
- Select a rate
- New tasks use this rate automatically
Apply Rate to Task
When creating or editing a task:
- Tap the Rate field
- Select from available rates
- Earnings calculate automatically
Rate Hierarchy
Rate selection follows this priority:
- Manually selected rate on task
- Project default rate
- No rate (tracks time only)
Viewing Earnings
Your earnings appear throughout the app:
| Location | What's Shown |
|---|---|
| Timer | Running task earnings |
| Task List | Each task's value |
| Project Details | Total project earnings |
| Statistics | Salary charts and totals |
Earnings Calculation
Task Earnings = Duration (hours) × (Project Salary × Factor) + (Duration × Extra)
Example:
- Duration: 2.5 hours
- Project Salary: $50/hour
- Rate Factor: 1.5 (overtime)
- Rate Extra: $0
- Earnings: 2.5 × ($50 × 1.5) = 2.5 × $75 = $187.50
Example with Extra:
- Duration: 2.5 hours
- Project Salary: $50/hour
- Rate Factor: 1.0 (standard)
- Rate Extra: $10 (per diem)
- Earnings: 2.5 × ($50 × 1.0) + (2.5 × $10) = $125 + $25 = $150
Managing Rates
Edit a Rate
- Go to Settings → Rates
- Tap the rate to edit
- Modify properties
- Save changes
Changing a rate affects how existing tasks display earnings. The new rate applies retroactively to tasks using it.
Archive a Rate
For rates you no longer use:
- Go to Settings → Rates
- Swipe left on the rate
- Tap Archive
Archived rates are hidden but preserved.
Delete a Rate
Permanently remove a rate:
- Go to Settings → Rates
- Swipe right on the rate
- Tap Delete
- Confirm deletion
Tasks using deleted rates show no earnings.
Team Rates
Team rates require a Pro subscription with Teams enabled.
Share rates across your team for consistent billing.
Creating Team Rates (Admin)
- Go to Settings → Rates
- Tap + to create
- Enable Team Rate
- Select the team
- Configure amount and factor
- Save
Best Practices
Tag Strategy
- Keep it simple - 5-10 tags covers most needs
- Be consistent - Same tag for same work type
- Use colors meaningfully - Visual patterns help
- Review regularly - Archive unused tags
- Document conventions - Share with team
Rate Strategy
- One rate per client - Use factors for variations
- Set project defaults - Reduce manual selection
- Review annually - Update for rate increases
- Name descriptively - "Acme Corp - Standard" not "Rate 1"
- Track non-billable - Create a $0 rate for internal work
Start with 3-5 tags and 2-3 rates. Add more as your needs become clear. Over-categorizing early creates confusion.